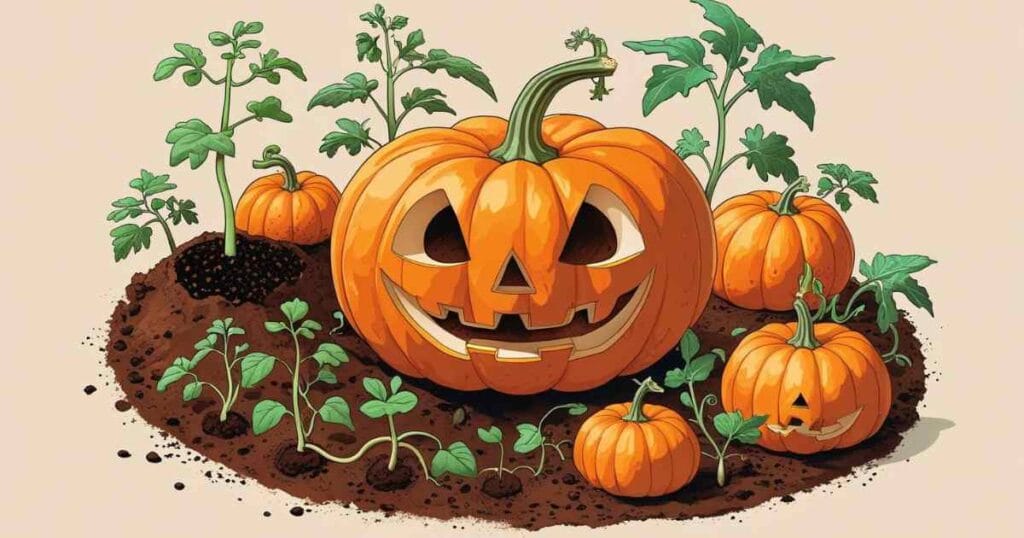
Growing your own pumpkins feels pretty special. There’s something satisfying about planting a tiny seed and carving a jack-o’-lantern from your harvest in the fall. But getting from seed to pumpkin takes some know-how.
This guide walks you through the entire process. You’ll learn when to plant, how to care for your vines, and what to do when things go wrong. By the end, you’ll have everything you need to grow pumpkins in your own yard.
Choosing the Right Pumpkin Variety
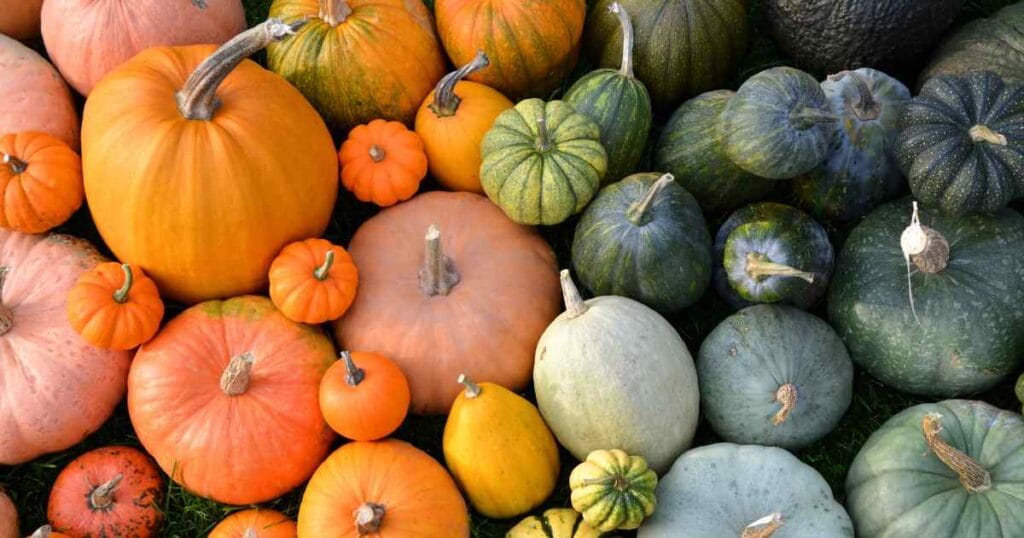
Not all pumpkins are created equal. Some grow massive, others stay small. Some are perfect for pies, others are better for carving. And some varieties handle disease better than others.
For Jack-o’-Lanterns:
- Connecticut Field – The classic orange pumpkin grows 10-20 pounds. This variety handles stress well and rarely disappoints
- Howden – Thick walls make it great for carving, 20-30 pounds. The stems are sturdy, so they’re less likely to break during harvest
- Jack O’Lantern – Yes, that’s actually the variety name, 8-15 pounds. Bred specifically for carving with a flat bottom for stability
For Small Spaces:
- Jack Be Little – Tiny pumpkins, perfect for apartments with balconies. Each plant produces 8-10 mini pumpkins
- Baby Bear – Small but still carveable, about 2 pounds. The seeds are hull-less, making them perfect for snacking
- Small Sugar – Great for pies and decorating, 4-6 pounds. This one actually tastes good – sweet and smooth flesh
For the Ambitious:
- Atlantic Giant – Can grow over 1,000 pounds (but needs serious space and dedication)
- Big Max – More manageable at 50-100 pounds. Kids love these monsters
Pick based on your space and goals. A suburban backyard can easily handle standard carving pumpkins. But if you’re working with a small garden, stick to the compact varieties. First-timers should start with Connecticut Field or Howden – they’re forgiving and reliable.
When to Plant Pumpkins
Timing matters with pumpkins. Plant too early, and frost kills them. Plant too late and they won’t ripen before Halloween.
The basic rule: Count backwards 100-120 days from your first expected fall frost. That’s your planting date.
For most of the US, this means:
- Northern states: Late May to early June
- Southern states: Early May to mid-May
- Warm climates: April or even late March
But here’s what those dates really mean in practice. In Minnesota, you’re looking at June 1st. In Georgia, aim for May 1st. Southern California? You can plant in late March and grow pumpkins nearly year-round.
Pumpkins hate cold soil. Wait until the soil temperature hits 70°F at a 4-inch depth. You can check with a soil thermometer, or just wait until about two weeks after your last spring frost.
Pro tip: If you’re itching to get started early, warm the soil by covering it with black plastic for a week before planting. Remove the plastic, plant your seeds, then mulch around them.
Preparing Your Pumpkin Patch
Pumpkins are hungry plants. They need rich soil and lots of room to sprawl. Think of them as teenagers – they eat everything and take up tons of space.
Space Requirements:
- Standard varieties need 50-100 square feet per plant (imagine a 10×10 foot square)
- Giant varieties need up to 500 square feet (that’s a small studio apartment)
- Bush varieties can manage with 15-20 square feet (perfect for raised beds)
Soil Preparation:
- Choose a sunny spot (at least 6 hours of direct sun, but 8 is better)
- Work in 3-4 inches of compost or aged manure (fresh manure burns plants)
- Create mounds about 3 feet wide and 8-10 inches high
- Space mounds 4-8 feet apart (depending on variety)
The mounds help with drainage. Pumpkins hate sitting in water, and good drainage prevents most disease problems. If you have clay soil, those mounds become even more important. Add some coarse sand along with the compost to improve drainage.
pH Level: Pumpkins prefer slightly acidic to neutral soil (pH 6.0-7.0). But don’t stress too much about this. They’re pretty forgiving. If your tomatoes grow well, your pumpkins will too.
Container Growing: Yes, you can grow pumpkins in containers. Use at least a 20-gallon pot for small varieties, 40 gallons for standard types. Make sure it has drainage holes and use quality potting mix, not garden soil.
Planting Pumpkin Seeds
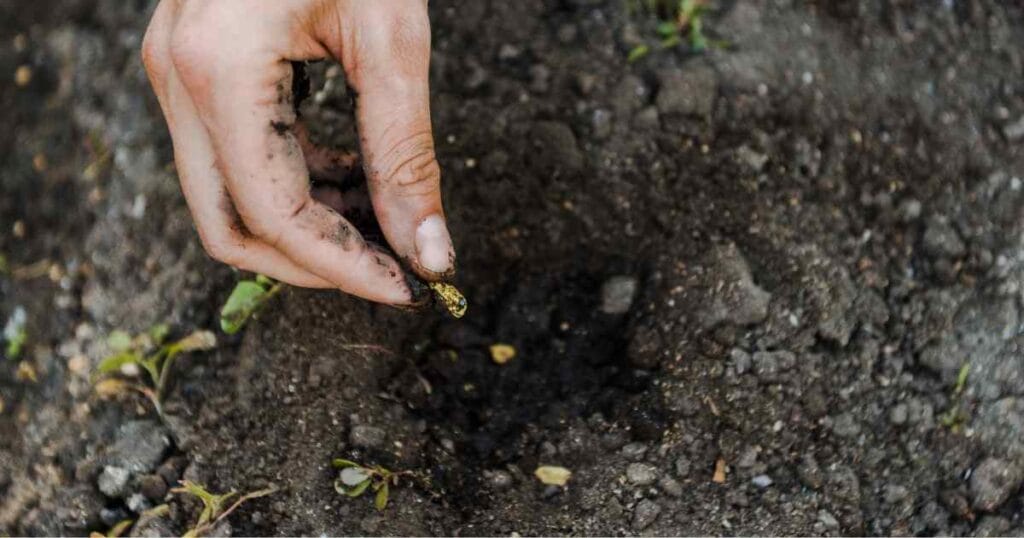
You’ve got two options: direct seeding or starting indoors. Most gardeners have better luck with direct seeding.
Direct Seeding (Recommended):
- Plant 2-3 seeds per mound
- Push seeds 1 inch deep (about the depth of your first knuckle)
- Plant seeds on their edge, not flat – this helps prevent rot
- Space seeds about 6 inches apart in a triangle pattern
- Water gently but thoroughly
Starting Indoors: Only do this if your growing season is really short (less than 90 frost-free days). Pumpkins don’t love being transplanted.
- Start 2-3 weeks before the outdoor planting date
- Use biodegradable pots to minimize root disturbance
- Plant 2 seeds per pot, 1 inch deep
- Keep at 65-75°F until germination (7-10 days)
- Place under grow lights or in a sunny window
- Transplant when seedlings have 2-3 true leaves
Seeds should sprout in 7-10 days if the soil is warm enough. In cold soil, they’ll rot before sprouting. Once seedlings have 2-3 true leaves (not the first round seed leaves), thin to the strongest plant per mound. Use scissors to cut the extras at soil level – pulling them out disturbs the winner’s roots.
Caring for Growing Pumpkins
Now comes the maintenance phase. Pumpkins aren’t high-maintenance, but they do need attention. Think of it like having a pet – regular care prevents problems.
Watering:
- Provide 1 inch of water per week (including rain)
- Water deeply once a week rather than light daily watering
- Water at the base, not on the leaves (wet leaves invite disease)
- Use drip irrigation or soaker hoses if possible
- Increase to 2 inches per week once fruits form
- Reduce watering as pumpkins ripen to concentrate flavors
How to check if you need to water: Stick your finger 4 inches into the soil. If it’s dry, water. If it’s moist, wait a day or two.
Fertilizing: Start with that rich soil you prepared, then:
- Side-dress with compost when vines start running (about 3 weeks after sprouting)
- Apply balanced fertilizer (10-10-10) every 2-3 weeks – use half the package recommendation
- Switch to low-nitrogen fertilizer (5-10-10) once flowers appear
- Stop fertilizing once pumpkins reach full size
Over-fertilizing causes problems: Too much nitrogen gives you huge leaves but few pumpkins. The plants look amazing, but don’t produce fruit.
Mulching: Add 2-3 inches of straw or shredded leaves around plants. This:
- Keeps soil moist (reduces watering by 25%)
- Prevents weeds (saves hours of work)
- Keeps developing pumpkins off the ground
- Adds organic matter as it breaks down
Keep mulch a few inches away from the main stem to prevent rot.
Training and Pruning the Vines
Left alone, pumpkin vines go crazy. A little management helps focus energy on fruit production. But don’t go overboard – pumpkins need leaves to feed the fruit.
Basic Training:
- Guide vines away from walkways (they’ll trip you)
- Gently turn vine tips in the desired direction each week
- Pin down vines with garden staples in windy areas
- Bury vine nodes (where leaves attach) to encourage extra roots
Pruning for Bigger Pumpkins: Want fewer but larger pumpkins? Try this:
- Let the main vine grow to 10-15 feet
- Pinch off the growing tip (this redirects energy to fruit)
- Remove all but 2-3 pumpkins per plant
- Choose pumpkins that are round and well-positioned
- Prune secondary vines to 8-10 feet
- Remove any new flowers after mid-July
Pruning for More Pumpkins: For maximum quantity:
- Don’t prune the main vine
- Let secondary vines grow freely
- Only remove damaged or diseased growth
- Keep all healthy female flowers
When to stop pruning: Stop all pruning by early August. The plant needs its remaining leaves to feed the developing pumpkins.
Dealing with Pests and Diseases
Pumpkins face their share of problems. Here’s what to watch for and how to handle it without reaching for harsh chemicals.
Common Pests:
- Squash bugs: Gray or brown bugs that suck plant juices
- Check undersides of leaves for bronze-colored eggs
- Hand-pick adults and eggs daily (drop in soapy water)
- Use row covers early in the season
- Plant nasturtiums nearby as trap crops
- Cucumber beetles: Yellow with black stripes or spots
- Pick off by hand in early morning when they’re sluggish
- Plant late to avoid peak populations
- Use yellow sticky traps to monitor populations
- Kaolin clay spray deters them
- Vine borers: Larvae tunnel into stems
- Look for holes with sawdust-like frass at the base
- Wrap stem bases with aluminum foil for prevention
- Slit the vine lengthwise and remove the borer, then bury the stem in soil
- Plant extra vines as insurance
Common Diseases:
- Powdery mildew: White powder on leaves
- Improve air circulation by proper spacing
- Water at base, not overhead
- Remove affected leaves and dispose in the trash (not compost)
- Spray with milk solution (1 part milk to 9 parts water) weekly
- Bacterial wilt: Vines wilt and die suddenly
- No cure, remove affected plants immediately
- Control cucumber beetles (they spread it)
- Plant resistant varieties next year
Prevention Tips:
- Rotate crops yearly (wait 3 years before planting in the same spot)
- Clean up all plant debris in the fall
- Choose disease-resistant varieties
- Space plants properly for air circulation
- Water in the morning, so leaves dry by evening
- Add beneficial insects like ladybugs and lacewings
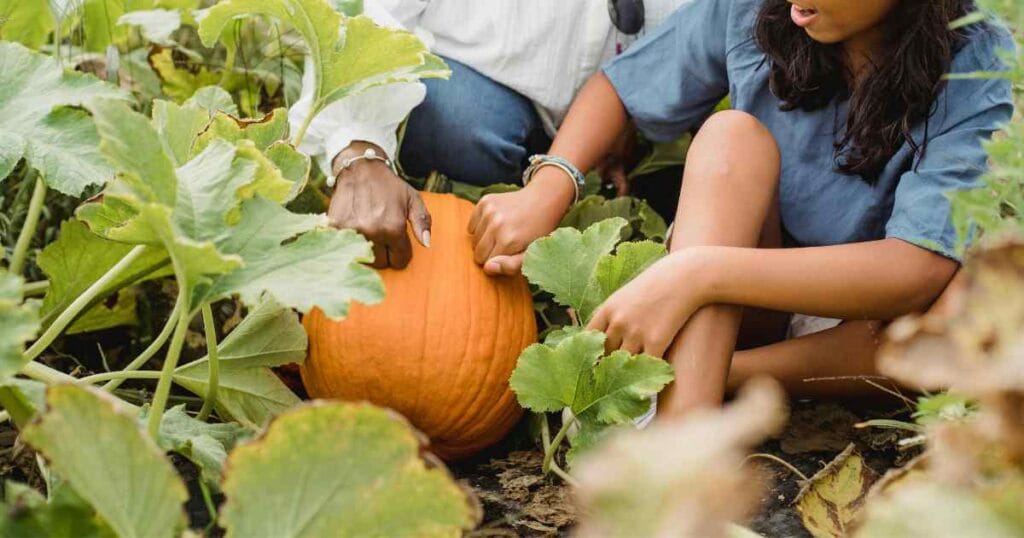
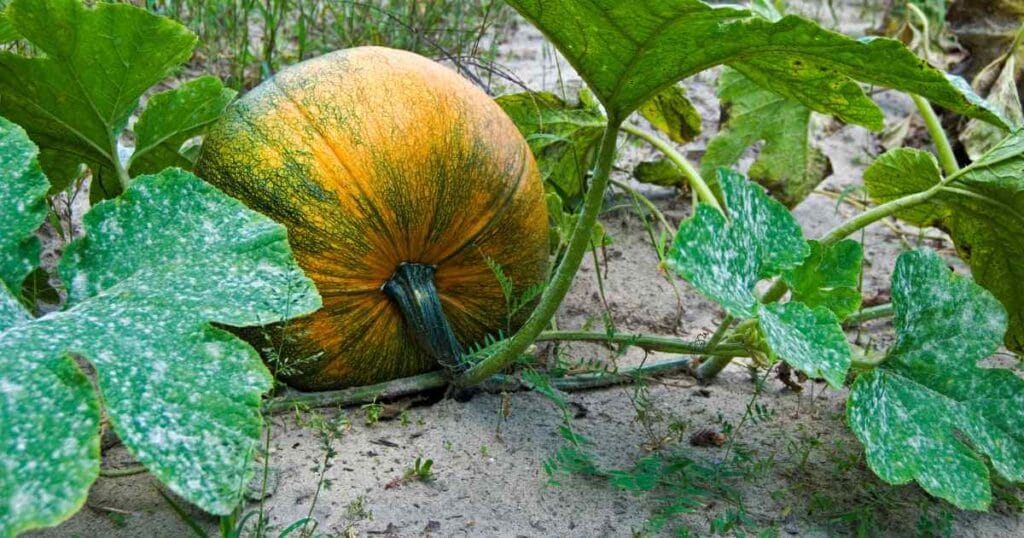
Harvesting Your Pumpkins
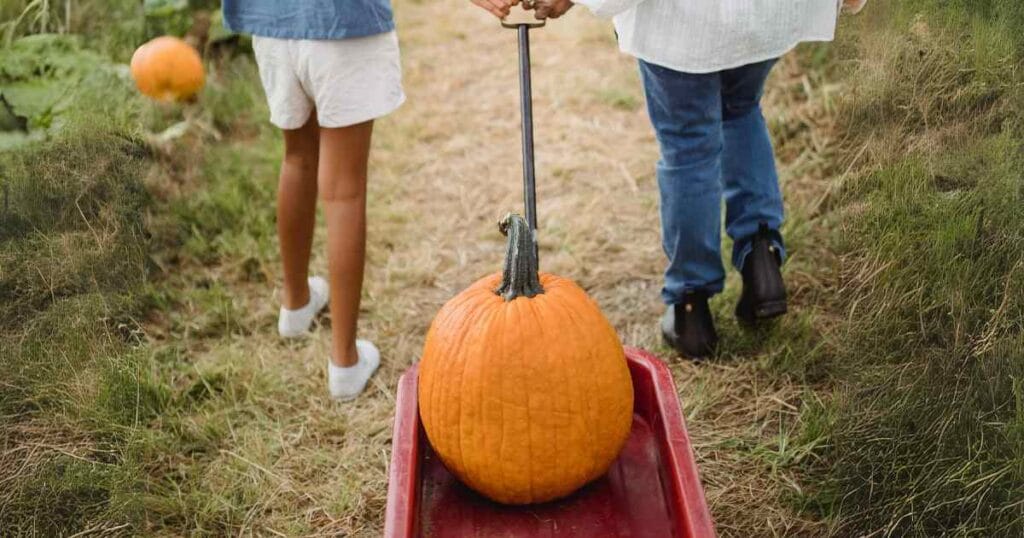
The waiting is almost over. But picking at the right time makes the difference between a pumpkin that lasts and one that rots before Halloween.
Signs of Ripeness:
- Skin is hard (your fingernail shouldn’t pierce it easily)
- Deep, uniform color (no green streaks except for varieties meant to be green)
- The stem starts to dry and turn brown
- The pumpkin sounds hollow when tapped with your knuckles
- Ground spot (where it sits) turns cream to orange
- The tendril nearest the fruit stem turns brown and dry
How to Harvest:
- Cut the stem with pruning shears or a sharp knife (don’t twist it off)
- Leave 3-4 inches of stem attached (the “handle”)
- Never carry by the stem (it might break)
- Support the pumpkin from the bottom
- Handle gently to avoid bruising
- Harvest on a dry day if possible
Timing: Most pumpkins ripen in September or early October. But frost damages them, so harvest before the first hard frost. A light frost (32°F) won’t hurt mature pumpkins, but anything below 28°F will.
What if frost threatens before they’re ripe? Cover with old sheets or blankets. Remove covers during the day. You can also harvest slightly early and let them ripen in a sunny spot.
Curing and Storing Pumpkins
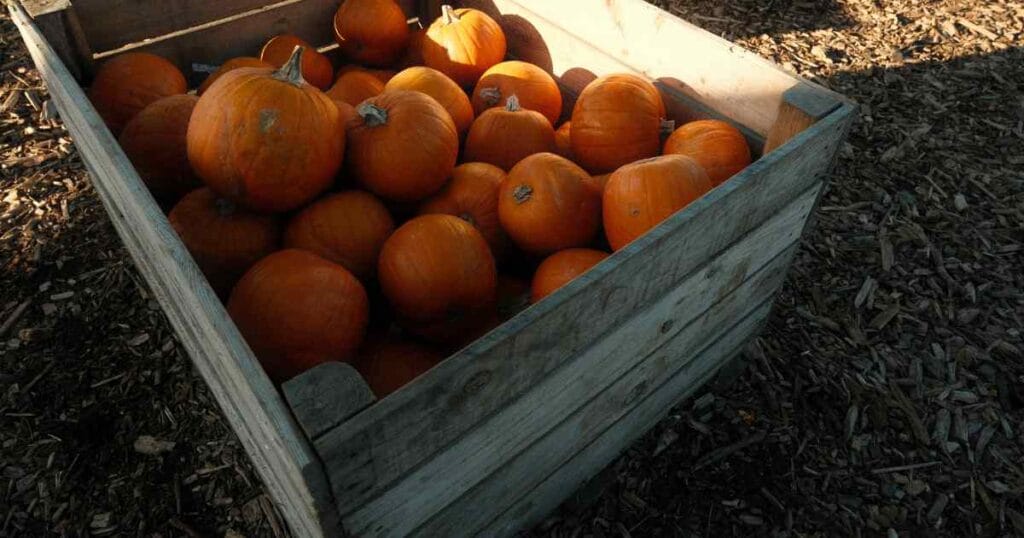
Want your pumpkins to last until Halloween and beyond? Proper curing is key. This process hardens the skin and heals any small wounds.
Curing Process:
- Leave in the sun for 7-10 days after harvest (bring inside at night if temperatures drop below 50°F)
- If rain threatens, move to a covered area like a porch
- Ideal temperature: 80-85°F with good air circulation
- Turn occasionally for even curing
- Wipe with diluted bleach solution (1:10 ratio) to kill surface bacteria
Storage:
- Store in a cool, dry place (50-55°F is ideal – like a basement or garage)
- Don’t let them touch each other (air needs to circulate)
- Place on cardboard or wood, not concrete (it draws out moisture)
- Check weekly and remove any soft spots
- Properly cured pumpkins last 2-3 months
- Don’t store near apples or pears (they release ethylene gas that speeds ripening)
From Pumpkin to Jack-o’-Lantern
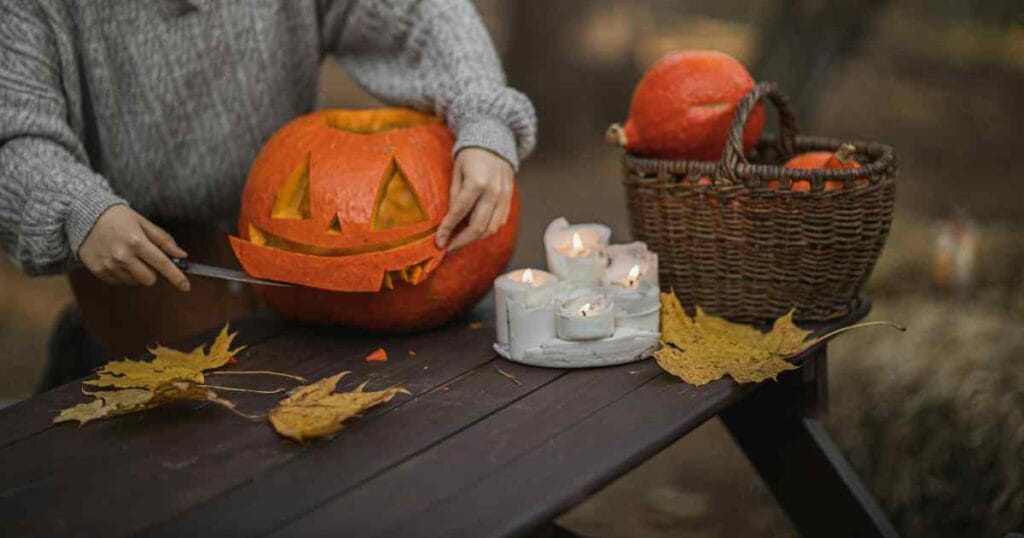
You’ve grown it, now it’s time for the fun part. But a few tricks will help your creation last longer.
Carving Tips:
- Wait until 3-5 days before Halloween to carve (carved pumpkins last 3-7 days)
- Cut the lid at an angle so it won’t fall through
- Make the opening big enough to fit your hand and tools
- Scoop out all the stringy pulp (save seeds for roasting)
- Scrape walls to about 1 inch thick for easier carving
- Rub petroleum jelly on cut edges to slow decay
- Spray inside with diluted bleach solution
- Use battery-powered lights instead of candles for safety
Making Them Last:
- Spray with diluted bleach solution daily (1 tablespoon per quart)
- Keep in a cool place when not displayed
- Bring inside if temperatures drop below freezing
- Rehydrate shriveled pumpkins by soaking in cold water for 2-8 hours
Alternative preservation: Some people swear by commercial pumpkin preservatives or even hairspray. But the bleach solution works just as well and costs less.
Saving Seeds for Next Year
Want to do this again? Save your seeds. It’s easy and saves money.
- Scoop seeds from a fully ripe, healthy pumpkin
- Separate from pulp in a bowl of water (viable seeds sink)
- Rinse in a colander until clean
- Remove any remaining pulp
- Spread on paper towels or newspaper to dry (not paper plates – they stick)
- Dry for 1-2 weeks in a warm, dry place out of direct sun
- Seeds are ready when they snap instead of bend
- Store in paper envelopes labeled with variety and date
- Keep in a cool, dry location (refrigerator works great)
Note: Seeds from hybrid varieties might not grow true to type. The pumpkins could be different from the parent. For best results, save seeds from heirloom or open-pollinated varieties. Seeds stay viable for 4-6 years when stored properly.
Troubleshooting Common Problems
Even experienced gardeners run into issues. Here’s help for the most common problems:
No Female Flowers:
- Be patient – male flowers appear first (they’re on straight stems)
- Female flowers show up 10-14 days later (they have a tiny pumpkin at the base)
- Hot weather (over 90°F) can delay female flowers
- Too much nitrogen fertilizer promotes leaves over flowers
Flowers But No Fruit: Poor pollination is usually the culprit
- Hand-pollinate in the morning when flowers are open
- Transfer pollen from male to female flowers with a small paintbrush
- Plant flowers nearby to attract bees (zinnias and sunflowers work great)
- Each female flower is only receptive for one day
Rotting Pumpkins:
- Place straw, cardboard, or wood shingles under developing fruits
- Ensure good drainage around plants
- Don’t overwater (especially as fruits ripen)
- Turn pumpkins gently every few weeks for even ripening
Slow Growth:
- Check soil nutrients (side-dress with compost)
- Ensure adequate water (deep weekly watering)
- Look for pest damage on stems and leaves
- Verify you have full sun exposure
- Cool weather slows growth – be patient
Splitting Pumpkins:
- Usually caused by irregular watering (dry then suddenly wet)
- Maintain consistent moisture levels
Final Thoughts
Growing pumpkins takes patience and space, but it’s not complicated. Give them sun, water, and room to roam, and they’ll reward you with a harvest perfect for carving, decorating, or eating.
Start small in your first year. One or two plants will teach you plenty without overwhelming your garden (or your family with too many pumpkins). Each season, you’ll get better at reading your plants and knowing what they need.
And when October rolls around and you’re carving a jack-o’-lantern, you grew yourself? That feeling is worth every bit of effort you put in during the summer.