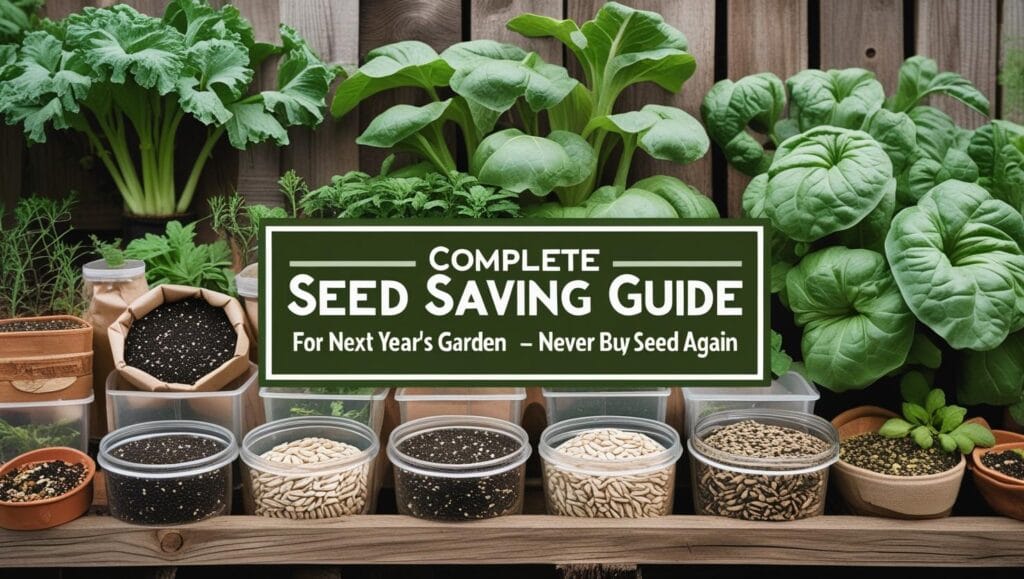
Seed saving is one of gardening’s most rewarding practices, connecting you to a tradition thousands of years old while setting you up for gardening success next season.
This seed saving guide will walk you through everything you need to know to collect, process, and store seeds from your favorite garden plants, saving money and preserving varieties you love.
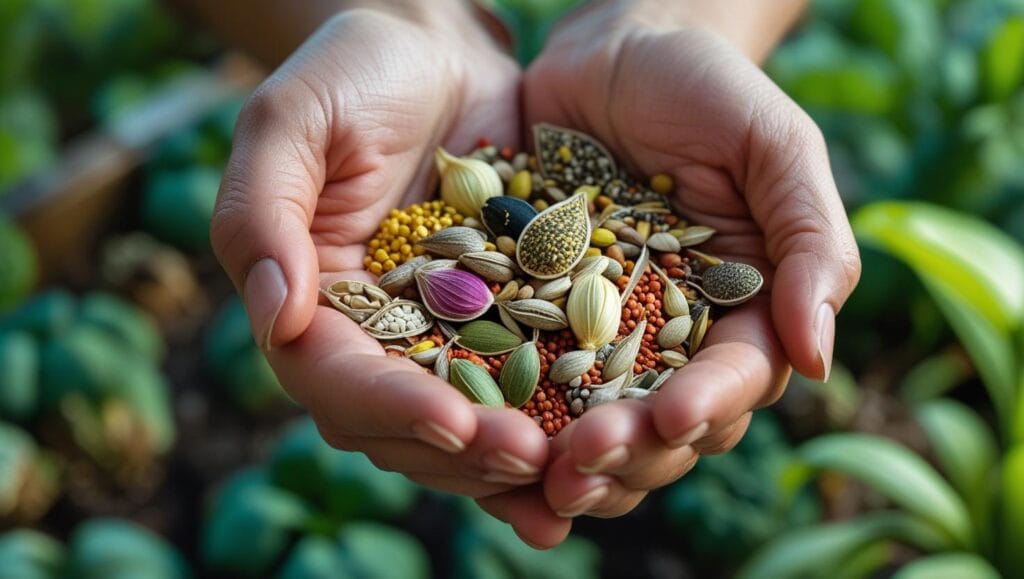
Why Save Your Own Seeds?
Saving seeds from your garden offers numerous benefits beyond just cutting costs. When you save seeds from plants that performed well in your specific growing conditions, you’re naturally selecting for varieties that thrive in your microclimate. This process creates plants increasingly adapted to your unique garden environment over time.
Other compelling reasons to start seed saving include:
- Preserving cultural traditions and heirloom varieties with special flavors and characteristics
- Saving significant money, as one good growing season can produce years’ worth of seeds
- Building connections with your local gardening community through seed sharing
- Maintaining biodiversity by preserving varieties that might not be commercially available
- Gaining self-sufficiency and a deeper understanding of your garden’s life cycle
Saving seeds transforms you from just a gardener into a plant steward, connecting you to the ancient practices that have sustained human agriculture for millennia.
Essential Seed Saving Principles
Understanding What Seeds to Save
Not all seeds are equally suitable for saving. Here are some key considerations:
Open-pollinated vs. Hybrid: Focus on saving seeds from open-pollinated or heirloom varieties, as they’ll produce plants true to their parents. Seeds from hybrid plants (often labeled F1) typically won’t grow true to type and may produce unpredictable results.
Self-pollinated vs. Cross-pollinated: Self-pollinating plants like tomatoes, peppers, beans, and peas are easiest for beginners because they rarely cross with other varieties. Cross-pollinating plants like cucurbits (squash, cucumbers, melons) require isolation techniques to maintain variety purity.
Annual vs. Biennial: Annual plants complete their lifecycle in one season, making seed collection straightforward. Biennials like carrots and cabbage require two growing seasons to produce seeds, requiring more advanced techniques.
Selecting the Best Plants
Always choose seeds from your healthiest, most productive plants with desirable traits such as flavor, size, disease resistance, or drought tolerance. This selective approach improves your seed stock over successive generations.
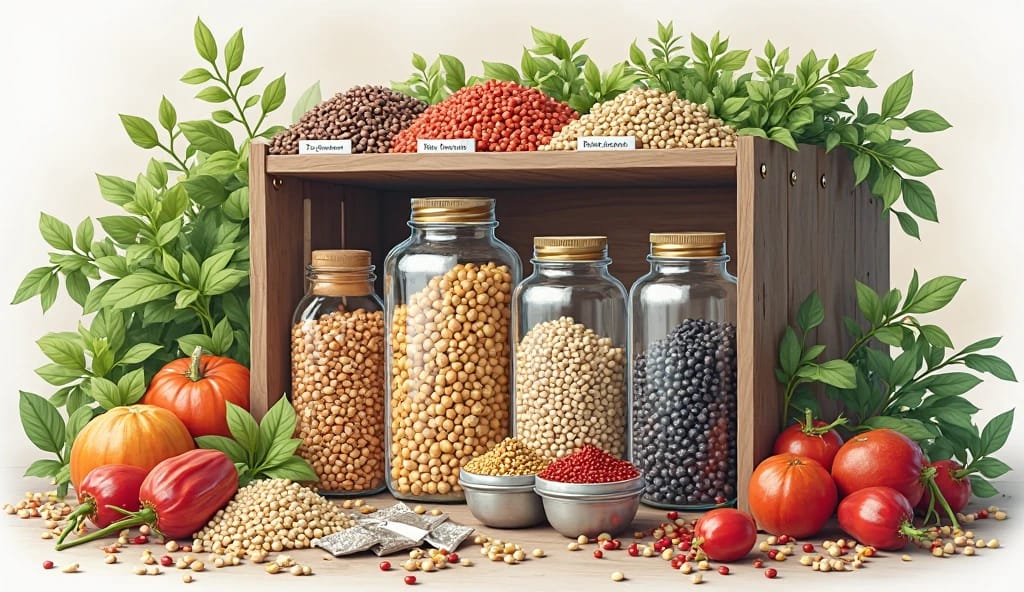
Saving Seeds from Different Plant Types
Tomatoes and Other Wet-Seeded Fruits
Tomato seeds require special treatment to remove the gel coating that inhibits germination. Here are two effective methods:
Fermentation Method:
- Scoop seeds and the surrounding gel from fully ripe tomatoes into a container
- Add a small amount of water and leave at room temperature for 3-7 days
- Stir daily until fermentation occurs (a white mold may form on top)
- Rinse seeds thoroughly through a fine strainer
- Spread on a paper plate or screen to dry completely
Paper Towel Method:
- Spread tomato seeds and pulp directly onto a paper towel
- Label the towel with the names and dates
- Allow to dry completely
- Store the paper towel with the attached seeds
- When planting, either tear off small sections with 2-3 seeds or soak briefly to remove seeds
Both methods work well, with fermentation being slightly more thorough for disease prevention.
Peppers and Dry-Seeded Fruits
Peppers are among the easiest seeds to save:
- Allow peppers to ripen on the plant fully (most will change color – for example, green bell peppers will turn red or yellow)
- Cut open the pepper and remove the seeds
- Spread seeds on a paper plate or towel in a single layer
- Allow to dry completely for 1-2 weeks in a warm, dry location
- Store in a labeled container
Remember that hot peppers may cross-pollinate with sweet peppers, so maintain appropriate separation distances if variety purity is important.
Beans and Peas
Legumes are perfect for beginning seed savers:
- Allow pods to dry completely on the plant until they rattle when shaken
- Harvest pods when they’re brown and dry
- Shell the pods to remove seeds
- Ensure seeds are completely dry before storage
- Check for and discard any seeds with insect damage or discoloration
These seeds typically remain viable for 3-4 years when stored properly.
Leafy Greens and Herbs
For leafy vegetables (lettuce, spinach) and herbs (basil, cilantro/coriander, dill):
- Allow some plants to “bolt” (produce flower stalks)
- Wait until the seed heads turn brown and begin to dry
- For small seeds like lettuce or herbs, place paper bags over the seed heads and cut the stalks
- Hang upside down in a dry location until completely dry
- Shake or crush seed heads to release seeds
- Winnow or sift to remove chaff
Herbs like basil, dill, and cilantro are particularly easy for beginners and produce abundant seeds.
Root Vegetables
Root vegetables like carrots and turnips are biennials, meaning they produce seeds in their second year:
- In cold climates, dig up roots in fall, trim tops, and store in damp sand over winter
- Replant in spring, or in mild climates, protect plants through winter
- Allow flower stalks to develop and seeds to form
- Harvest seed heads when they turn brown and begin to dry
- Complete drying indoors and thresh to remove seeds
Proper Seed Storage
Proper storage is crucial for maintaining seed viability:
- Ensure seeds are completely dry before storage (seeds should break rather than bend when folded)
- Store in airtight containers – glass jars, paper envelopes, plastic containers, or zip-top bags work well
- Clearly label all containers with the plant variety, collection date, and any special notes
- Add a small silica gel packet to absorb any moisture
- Store in a cool, dark, dry location – a refrigerator or freezer is ideal for long-term storage
- Keep seeds away from fluctuating temperatures and humidity
Most properly stored seeds remain viable for at least 1-2 years, with many lasting 3-5 years or more.
Testing Seed Viability
Before planting saved seeds in bulk, it’s wise to test their germination rate:
- Place 5-10 seeds on a damp paper towel
- Fold or roll the towel and place it in a plastic bag
- Keep at 75-80°F (24-27°C) for about a week
- Count how many seeds germinate to calculate the viability percentage
- Adjust your planting density based on the results
This simple test prevents disappointment and allows you to plan appropriately for the growing season.
Common Mistakes to Avoid While Saving Seeds
Successful seed saving requires avoiding these common pitfalls:
- Saving seeds before they’re fully mature: Seeds need to complete development for viability
- Insufficient drying: Moisture leads to mold and reduced viability
- Poor labeling: Unlabeled seeds become mystery plants
- Saving seeds from diseased plants: Diseases can be transmitted to the next generation
- Ignoring cross-pollination: Failing to isolate cross-pollinating plants can result in unexpected hybrids
- Storing seeds in inappropriate locations: Heat and humidity are enemies of seed longevity
Final Thoughts
Seed saving is a fulfilling practice that connects you to the full cycle of plant life while building self-sufficiency and resilience in your garden. Start with easy crops like tomatoes, peppers, beans, and herbs, then expand your skills to more challenging varieties as you gain experience.