Imagine stepping into your kitchen and snipping fresh basil for your pasta sauce or adding fragrant rosemary to your roasted chicken without ever leaving the room. That’s the magic of indoor herb gardening!
With an indoor herb garden, you can enjoy fresh, flavorful herbs year-round, regardless of weather conditions outside. You’ll bypass the chemicals and hefty price tags associated with store-bought herbs while elevating your cooking with vibrant flavors at your fingertips.
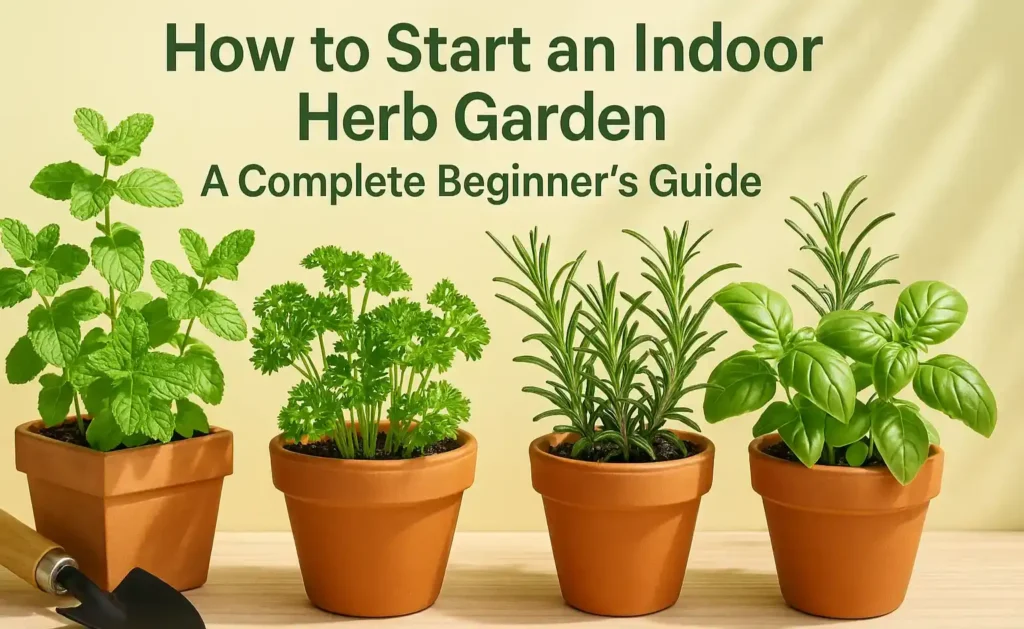
The good news is that creating your own indoor herb garden is surprisingly accessible, even if you’ve never touched a trowel in your life. This guide will walk you through everything you need to know to create a thriving indoor herb garden.
Choosing the Right Herbs for Beginners
Easy-to-Grow Varieties for First-Timers
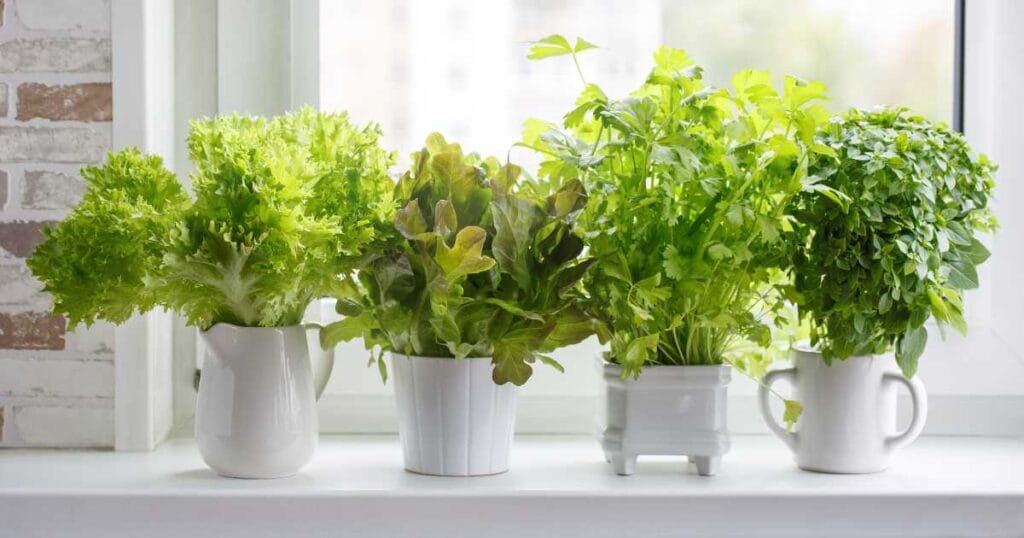
When starting your indoor herb garden journey, begin with herbs that are forgiving and adaptable to indoor conditions.
Basil is an excellent choice, ready to harvest in just 28 days and perfect for adding fresh flavor to countless dishes. Thyme, parsley, and oregano are also remarkably resilient and will reward even novice gardeners with abundant harvests. Mint grows vigorously indoors and adds refreshing notes to drinks and desserts, though it should be given its own container to prevent it from overwhelming other herbs.
These beginner-friendly herbs provide quick rewards as you develop your indoor gardening skills, building confidence through early success.
Selecting Herbs Based on Your Cooking Needs
Consider your culinary preferences when choosing which herbs to grow. If you frequently prepare Italian dishes, prioritize basil, oregano, and rosemary.
For those who enjoy Mexican cuisine, cilantro would be an excellent addition to your indoor garden. Think about the herbs you regularly purchase at the grocery store – these are perfect candidates for your garden, as they’ll provide the most value through regular use.
Some herbs, like chives, parsley, and basil, are versatile additions to many dishes, making them practical choices for beginners concerned about maximizing their garden’s utility. Remember that you can always start small with just two or three varieties and expand your herb collection as your confidence and skills grow.
Essential Supplies for Getting Started
Containers and Planting Mediums
Selecting appropriate containers is crucial for herb success. Choose pots with drainage holes to prevent root rot, which can quickly kill herbs. Pair these with catch trays to protect your surfaces from water damage.
Container size matters – use 6-8 inch (15-20 cm) pots for vigorous growers like mint and basil, while compact herbs like thyme can thrive in smaller 4-inch (10 cm) containers.
For soil, never use regular garden soil indoors as it compacts and retains too much moisture; instead, opt for a lightweight, well-draining potting mix designed specifically for container gardening. Improve drainage further by mixing perlite into your growing medium at a 4:1 ratio to prevent waterlogged roots that lead to plant decline.
Lighting and Additional Equipment
Proper lighting is perhaps the most critical factor for indoor herb success. If you’re fortunate enough to have a south or southwest-facing window that receives at least 6 hours of direct sunlight daily, you can position your herbs there.
However, most indoor gardeners benefit from supplemental lighting, especially during winter months. LED grow lights positioned 12-14 inches above your plants for 12-16 hours daily can dramatically improve growth and flavor development.
Additional essential equipment includes plant markers to track varieties, pruning shears for clean harvesting cuts, and possibly a heat mat to boost germination success rates for seeds. A basic temperature and humidity monitor placed at plant level helps track environmental conditions that affect herb growth and health.
Finding the Perfect Location in Your Home
Light Considerations for Placement
Position your herb garden in a location that receives adequate light – the most common reason for herb failure indoors is insufficient light.
South-facing windows typically provide the most sunlight throughout the day, making them ideal for light-hungry herbs like basil and oregano. East-facing windows offer gentle morning light suitable for more shade-tolerant herbs like mint and parsley. If window light is limited, don’t worry – LED grow lights can provide the perfect spectrum for herb growth regardless of your home’s orientation.
Monitor your herbs’ growth patterns; if they become “leggy” with long stems and sparse leaves, they’re likely stretching toward light and need either a sunnier location or supplemental lighting. Remember that light needs vary by herb – basil requires full, direct light while parsley can manage with less intense exposure.
Temperature, Humidity, and Accessibility
The ideal location for your herb garden balances light requirements with appropriate temperature and humidity levels. Most herbs thrive in temperatures between 65-75°F (18-24°C), making typical indoor living spaces perfect for their growth.
Keep plants away from drafty windows during winter and heat sources like radiators or vents that can dry them out rapidly. The kitchen offers multiple advantages as a location – herbs stay within arm’s reach for cooking while benefiting from natural humidity generated during cooking and dishwashing.
Group your plants on pebble-filled trays with water below the pebble line to increase humidity around them without risking rot from direct water contact. For convenience, position your herb garden where you’ll see it daily, as this encourages regular harvesting and helps you quickly spot any developing issues.
Mastering Light Requirements for Healthy Growth
Working with Natural Light Sources
Position herbs strategically to capture maximum natural light throughout the day. Track sun patterns across your growing space – herbs generally need 12-14 hours of light daily for robust growth and flavor development.
Place compact herbs like thyme and oregano directly on windowsills while keeping taller varieties like basil and rosemary on plant stands positioned 4-6 inches back from cold glass to prevent leaf damage. Boost light exposure by placing reflective surfaces behind plants – white walls or aluminum foil can reflect up to 30% more light back onto your herbs’ leaves.
Rotate your containers a quarter turn weekly to ensure even growth on all sides, preventing the lopsided, leaning growth that occurs when plants stretch toward light sources.
Supplementing with Artificial Lighting
When natural light falls short of providing the 6+ hours needed daily, LED grow lights become essential for indoor herb success. Modern full-spectrum LEDs deliver the perfect light combination for herbs, with blue wavelengths (450-495nm) promoting leafy growth and red wavelengths (620-720nm) enhancing essential oil production that gives herbs their distinctive flavors.
Position lights 12-14 inches above plants and operate them for 14-16 hours daily to boost growth by up to 30% compared to insufficient window light. Adjust height as plants grow, keeping stronger light-loving herbs like basil closest to the source while shade-tolerant herbs like mint can sit at the edges of the light’s reach.
Watch for signs of light deficiency including pale leaves, elongated stems, and sparse foliage – these indicate your lighting needs adjustment to support healthy growth.
Planting and Initial Care
Starting from Seeds vs. Seedlings
For beginners, starting with young plants from a garden center provides the quickest path to harvest and eliminates the challenges of germination. However, if you prefer starting from seeds, herbs like basil, cilantro, and dill germinate reliably and quickly, often sprouting within a week under proper conditions.
When starting seeds, use a seed-starting mix rather than regular potting soil, as it provides better drainage and a lighter texture that encourages delicate root development. Place seeds on the surface or barely cover them according to package directions – most herb seeds need light to germinate and should not be planted deeply.
For faster germination rates, consider using a heat mat to maintain soil temperatures between 70-75°F (21-24°C), which can boost success rates by up to 50%.
Transplanting and Settling In
When transplanting seedlings or nursery plants, handle them gently to minimize root disturbance. Choose containers approximately 1-2 inches larger than the root ball to provide room for growth without excess soil that can remain wet and cause rot issues.
Fill containers with quality potting mix to about one inch below the rim, which allows space for watering without overflow. After transplanting, water thoroughly until moisture drains from the bottom holes, then allow the soil surface to dry slightly before watering again.
Place newly transplanted herbs in their permanent position immediately but harvest sparingly for the first two weeks, allowing plants to establish strong root systems before demanding significant leaf production. This establishment period is crucial for developing robust plants that will provide ongoing harvests for months to come.
Ongoing Care and Maintenance
Watering Practices for Indoor Herbs
Proper watering is perhaps the trickiest aspect of indoor herb gardening for beginners. Rather than following a rigid schedule, learn to read your plants’ needs by checking soil moisture with your finger – when the top inch feels dry, it’s time to water most herbs.
Different herbs have varying water requirements; Mediterranean varieties like rosemary, thyme, and oregano prefer soil that dries out between waterings, while basil and mint thrive with more consistent moisture. Always water at the soil level rather than from above to prevent leaf diseases, and ensure water drains completely from containers after each watering.
During winter months when indoor heating creates drier conditions, you may need to water more frequently, while summer’s higher humidity might require less frequent watering. The goal is always moist but never soggy soil – more herbs die from overwatering than underwatering indoors.
Pruning and Harvesting for Continued Production
Regular harvesting is not just about enjoying your herbs – it’s essential for maintaining plant health and encouraging new growth. Harvest herbs in the morning when their essential oil content is highest for the best flavor.
For most leafy herbs like basil and mint, pinch stems just above a leaf node (where leaves attach to the stem) to encourage branching and fuller growth. Never harvest more than one-third of a plant at once, as this can shock the plant and slow future production.
For woody herbs like rosemary and thyme, trim stems with sharp scissors rather than pulling, which can damage the plant. Consistent, smaller harvests are better than occasional major cuttings, as they signal the plant to continue producing new growth rather than going to seed. Remember that actively growing plants need regular pruning to prevent flowering, which changes flavor and reduces leaf production.
Troubleshooting Common Issues
Addressing Slow Growth and Light Problems
Slow growth is the most common complaint among indoor herb gardeners, particularly during winter months. If your plants are growing sluggishly with long stems and minimal leaves, insufficient light is the likely culprit.
Plants stretching toward light sources is a clear sign they need either more intense light or longer light exposure. Move plants closer to windows or lower grow lights until they’re just 6-8 inches above plant tops to increase light intensity. Increase light duration to 14-16 hours daily using timers to maintain consistency.
Remember that herbs grown indoors typically grow more slowly than outdoor plants, so adjust your expectations accordingly while optimizing conditions. Rotate plants regularly to ensure all sides receive equal light exposure, preventing the lopsided growth that occurs when plants lean toward light sources.
Managing Pests and Diseases
Indoor herbs are less susceptible to pests than outdoor plants, but they aren’t immune. Inspect the undersides of leaves weekly for early signs of common indoor pests like aphids, spider mites, or whiteflies. If detected early, these can often be managed by simply wiping leaves with a damp cloth or spraying with a gentle solution of water and mild dish soap.
Prevent fungal issues by ensuring good air circulation between plants – avoid overcrowding containers and use a small fan on low setting if your growing area tends to be humid or stagnant. Yellowing leaves often indicate overwatering rather than disease, so adjust your watering routine before assuming pest problems.
If purchasing new herbs to add to your garden, isolate them for a week before placing them alongside existing plants to prevent potential pest introduction. This quarantine period allows you to observe for any issues before they can spread to your established herb collection.
Tips for Long-Term Success
Seasonal Adjustments for Year-Round Growth
Indoor herb gardens require seasonal adjustments to maintain productivity throughout the year. During winter months when daylight hours decrease, supplement with artificial lighting for 14-16 hours daily to compensate for reduced natural light intensity and duration.
In summer, herbs near windows may need protection from intense afternoon sun, which can scorch leaves – sheer curtains can diffuse harsh light while still providing adequate brightness. Adjust watering frequency with seasonal changes; increased home heating in winter creates drier air requiring more frequent watering, while summer humidity may reduce watering needs.
Be particularly attentive to temperature fluctuations near windows, which can be significantly cooler in winter and hotter in summer than your general room temperature. These seasonal adjustments ensure your herbs maintain steady growth regardless of outside conditions.
Refreshing and Rotating Your Herb Collection
Even with excellent care, indoor herbs eventually become woody, less productive, or simply outgrow their space. Plan to replace certain annual herbs like basil and cilantro every 3-4 months for best flavor and production.
For perennial herbs like rosemary and thyme, repot annually with fresh soil to rejuvenate growth and prevent root binding. Consider maintaining a rotation schedule where you start new plants before older ones decline, ensuring uninterrupted harvest.
Some herbs, particularly basil and parsley, can be propagated easily by placing cut stems in water until they develop roots, providing free replacements for aging plants. This renewal strategy maintains your garden’s productivity and appearance while allowing you to experiment with different varieties over time.
Remember that some herbs, like cilantro, have such short productive lives that successive plantings every few weeks provide more consistent harvests than trying to maintain individual plants long-term.
Conclusion
Creating your own indoor herb garden is a rewarding journey that connects you directly to the food you prepare while providing fresh flavors unmatched by dried alternatives. By selecting appropriate herbs for your cooking style, providing adequate light and proper containers, and establishing consistent care routines, you’ll be well on your way to herb gardening success.
Remember that even experienced gardeners learn through trial and error – each plant teaches you something valuable about creating optimal growing conditions indoors. Start small with just a few herbs, celebrate your successes, learn from challenges, and gradually expand your collection as your confidence grows.