
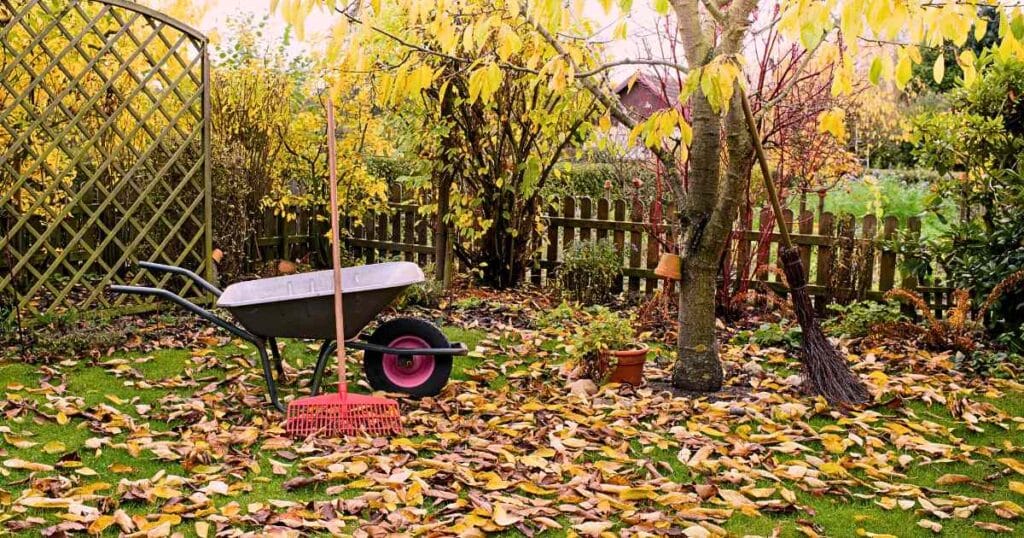
Getting your garden ready for fall might seem like a lot of work, but it’s one of the best investments you can make for next year’s growing season. Think of it as tucking your garden in for a long winter’s nap.
The work you put in now pays off big time when spring rolls around, saving you hours of cleanup and giving your plants their best possible start.
Why Fall Garden Prep Matters
Your garden goes through a lot during the growing season. Plants deplete soil nutrients, pests set up camp, and diseases can linger in dead plant material. Fall is your chance to reset everything and break these negative cycles.
When you prep your garden in fall, you:
- Protect plants that need to survive winter, ensuring they emerge healthy and vigorous
- Improve your soil while it has months to break down organic matter naturally
- Reduce pest and disease problems by eliminating overwintering sites
- Save time and stress during the busy spring planting season
- Give new plantings a head start with established root systems
The beauty of fall prep is that nature does much of the heavy lifting. Winter’s freeze-thaw cycles help break down organic matter, work amendments into the soil, and kill off many pest populations.
Clean Up Garden Beds
Remove Dead Plants and Debris
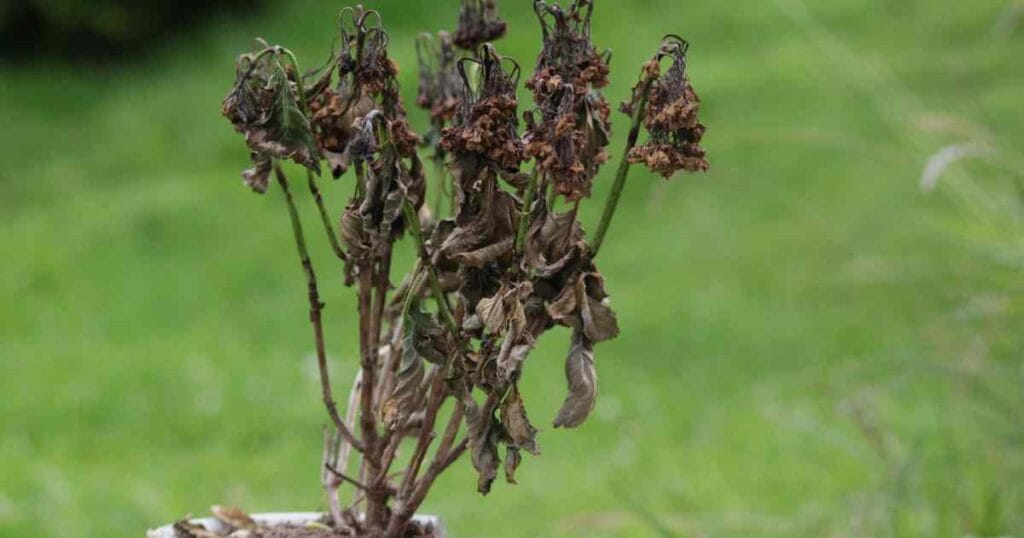
Start by pulling out any dead or dying annual plants. Tomatoes, peppers, squash, and other warm-season vegetables that won’t survive frost need to go.
But here’s the thing – don’t just yank everything out without thinking. Each plant tells you something about your garden’s health.
Healthy plant material can go straight into your compost bin. The leaves, stems, and roots will break down over winter and give you nutrient-rich compost by spring.
Chop larger stems into smaller pieces to speed decomposition. Even tough stems like sunflower stalks break down faster when cut into 6-inch sections.
Diseased plants need different treatment. If you noticed powdery mildew, blight, bacterial wilt, or other diseases, bag these plants and throw them in the trash.
Don’t compost them – you’ll just spread the disease around your garden next year. The same goes for insect-infested plants. Those tomato hornworm cocoons and squash vine borer larvae can overwinter in your compost pile.
Deal with Weeds Now
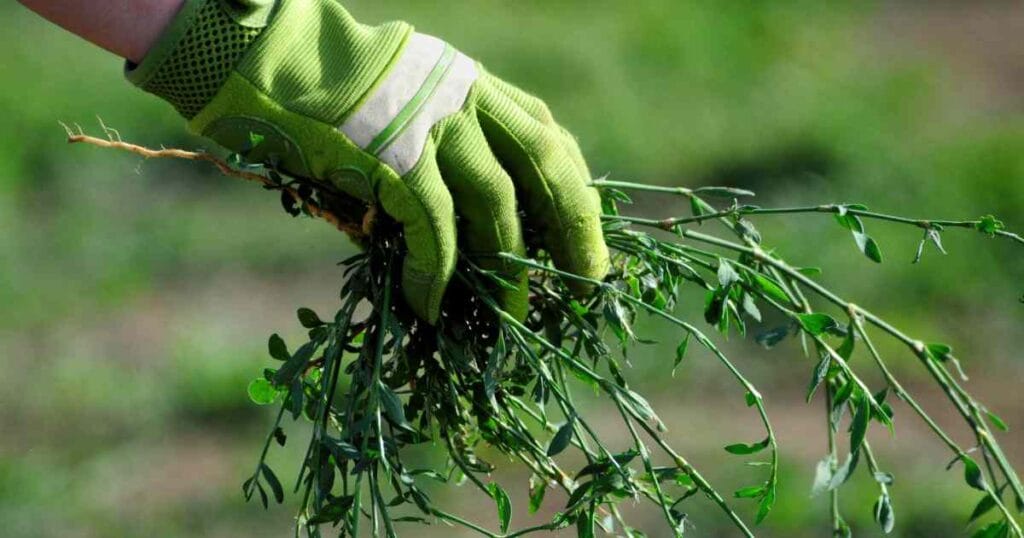
Fall weeds might not seem like a big deal since they’ll die with frost anyway, but many of them are getting ready to drop seeds. One weed today means dozens – or even hundreds – next spring. Pull them out, roots and all, before they go to seed.
For stubborn perennial weeds like bindweed, quackgrass, or Canada thistle, you might need to dig deep to get the entire root system. Even small root fragments can regrow, so be thorough. Consider using a garden fork instead of a shovel – it’s easier to shake soil from roots without breaking them.
Fall is also an excellent time to tackle weed prevention. After clearing beds, you can:
- Lay down cardboard and mulch for next year’s new beds
- Plant cover crops to outcompete weeds
- Apply corn gluten meal as a natural pre-emergent herbicide
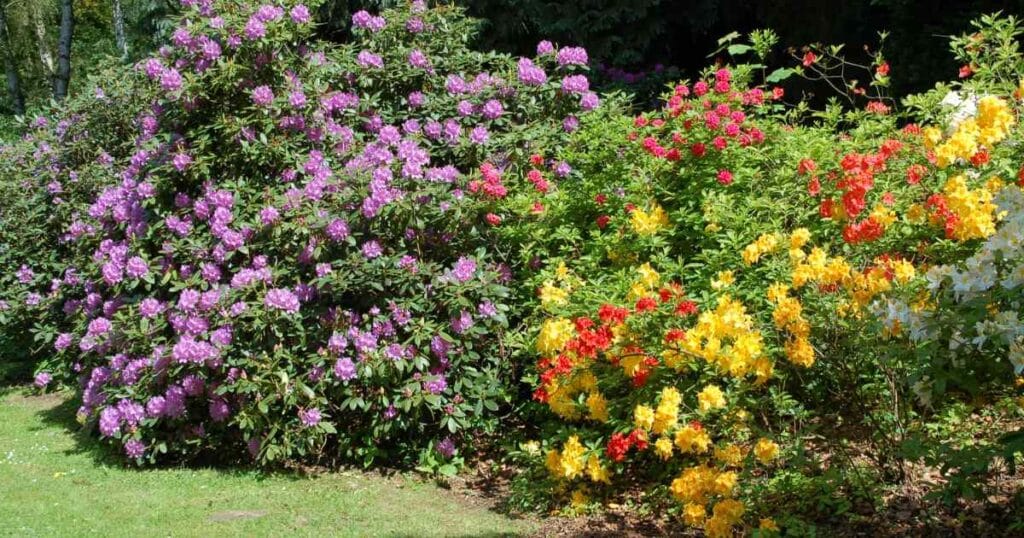
Take Care of Perennials
Decide What to Cut Back
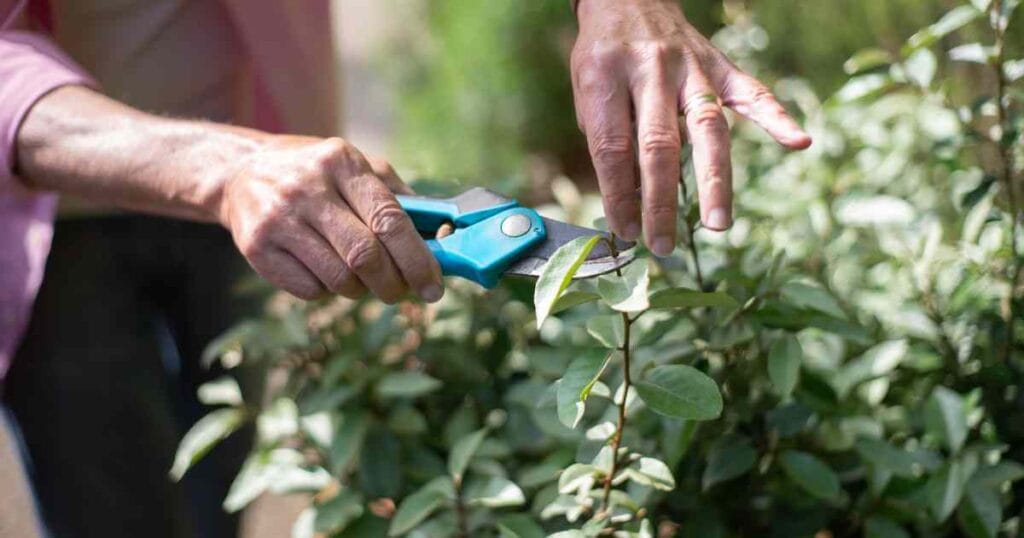
Not all perennials need cutting back in fall. Some actually do better if you leave them alone until spring. The key is understanding each plant’s needs and your local climate.
Cut back these perennials:
- Hostas – Once leaves yellow and collapse, cut to ground level to prevent slug eggs from overwintering
- Peonies – Cut to about 3 inches after foliage browns to prevent fungal diseases
- Bearded iris – Trim to 4-6 inches and remove any spotted or damaged leaves
- Daylilies – Cut back after foliage browns completely
- Bee balm – Prone to powdery mildew, so remove all foliage
- Phlox – Another mildew magnet that benefits from fall cleanup
Leave these standing:
- Ornamental grasses – Their movement and structure add winter interest
- Coneflowers – Seeds feed goldfinches and other birds through winter
- Black-eyed Susans – Seed heads provide food and look beautiful with snow
- Sedum – Dried flower heads add architectural interest
- Astilbe – Feathery plumes look magical with frost
- Hydrangeas – Old blooms protect new buds from cold
The ones you leave standing provide winter interest, food for birds, and shelter for beneficial insects. Many native bees overwinter in hollow stems, so leaving some standing helps support pollinators.
Divide Overgrown Perennials
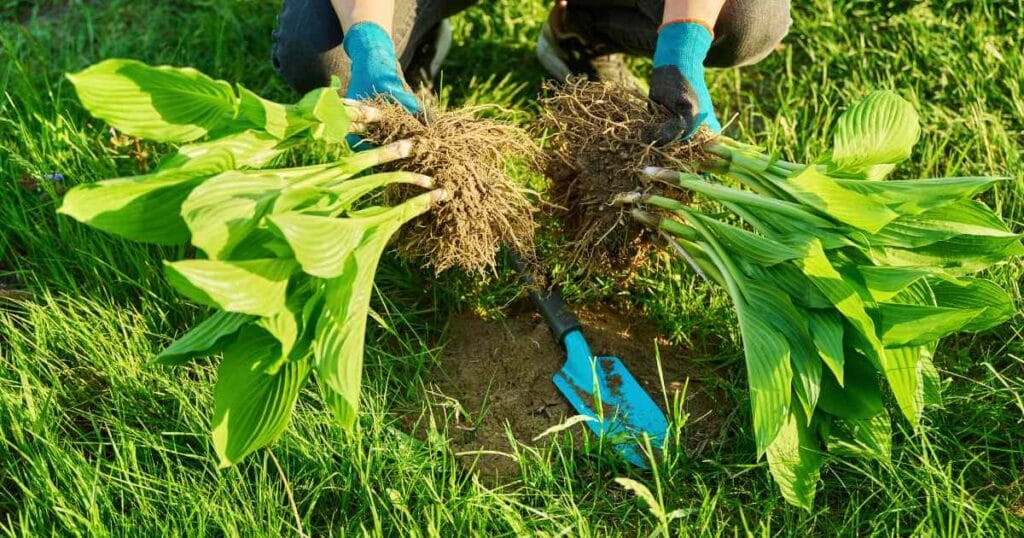
Fall is perfect for dividing many perennials. The soil is still warm enough for root growth, but the cooler air reduces stress on plants. If your hostas are crowding each other, daylilies have dead centers, or ornamental grasses have gotten too big, it’s time to divide.
How to divide perennials successfully:
- Water the plant well the day before dividing
- Cut back foliage to see what you’re doing
- Dig around the entire root ball, starting 6 inches from the edge
- Lift the clump and shake off excess soil
- Divide using a sharp spade, knife, or two garden forks back-to-back
- Each division needs healthy roots and at least 3-5 growing points
- Replant immediately at the same depth they were growing
- Water thoroughly and mulch around (not on top of) the plants
Fall-divided plants establish roots before winter and take off running in spring, often outperforming spring-divided plants.
Plant Trees, Shrubs, and Bulbs
Why Fall Planting Works
Fall might seem like an odd time to plant, but it’s actually ideal for many plants. The soil stays warm much longer than the air – often 10-20 degrees warmer – so roots keep growing even after the tops of plants go dormant. Come spring, these fall-planted additions have established root systems and can focus energy on top growth.
Research shows fall-planted trees and shrubs have 3-4 months of root growth advantage over spring-planted ones. They’re also less likely to suffer transplant shock since they don’t have to support leaves while establishing roots.
Trees and Shrubs
Plant trees and shrubs at least 6 weeks before your ground typically freezes. This timing gives them enough opportunity to grow new feeder roots. When you plant:
- Dig a hole twice as wide as the root ball but no deeper – roots grow outward more than downward
- Check the root flare – the point where trunk widens at the base should be at or slightly above soil level
- Don’t add amendments to the planting hole – use native soil so roots don’t stay in the “good” soil
- Rough up the sides of the planting hole to help roots penetrate
- Water deeply after planting and continue weekly until the ground freezes
- Add 2-3 inches of mulch in a donut shape around the base, keeping it 6 inches away from the trunk
- Stake only if necessary and remove stakes after one year
Spring-Blooming Bulbs
Want daffodils, tulips, and crocuses next spring? You need to plant them now. Bulbs need 12-16 weeks of cold temperatures below 45°F to bloom properly – a process called vernalization.
Plant bulbs when soil temperatures consistently stay below 60°F. In most areas, that’s October or November. Use a soil thermometer to check – planting too early in warm soil can cause bulbs to sprout prematurely.
Bulb planting tips for success:
- Plant bulbs three times as deep as they are tall (2-inch tulip bulb = 6 inches deep)
- Add bone meal or bulb fertilizer to the planting hole
- Plant in groups of odd numbers for natural-looking displays
- Face the pointed end up, root end down
- Water after planting to settle soil and start root growth
- Mark planting areas to avoid accidentally digging up bulbs in spring
For areas with vole or squirrel problems, plant bulbs in hardware cloth cages or choose resistant varieties like daffodils and alliums.
Test and Improve Your Soil

Get a Soil Test
Fall is the absolute best time to test your soil. You’ll get results back with plenty of time to make adjustments before spring planting, and many amendments need months to become fully effective.
Most extension offices offer soil testing for around $15-30 – a bargain for the valuable information you receive. Commercial labs provide more detailed tests for $30-75.
A comprehensive soil test tells you:
- pH level – affects nutrient availability
- Macro nutrients (nitrogen, phosphorus, potassium)
- Micro nutrients (calcium, magnesium, sulfur, iron, etc.)
- Organic matter content – aim for 5-8% in most gardens
- Cation exchange capacity – your soil’s ability to hold nutrients
- Specific recommendations for amendments based on what you plan to grow
Add Amendments
Based on your soil test results, fall is when you add amendments that need time to work:
Lime to raise pH (if needed). It takes 3-6 months to change soil pH significantly, so fall application gives it time to work. Apply pelletized lime for easier spreading and less dust.
Sulfur to lower pH for acid-loving plants like blueberries and azaleas. Like lime, sulfur needs months to be effective.
Compost to add organic matter and improve soil structure. Spread 1-2 inches over your beds. You don’t even need to dig it in deeply – let the freeze-thaw cycles and earthworms do the work. A light forking in helps speed the process.
Aged manure for nitrogen and organic matter. Make sure it’s well-aged (at least 6 months) – fresh manure can burn plants and may contain weed seeds or pathogens.
Cover crops like winter rye, crimson clover, or hairy vetch add organic matter and nutrients when tilled under in spring. They also prevent erosion and suppress weeds.
Winterize Your Lawn

Your lawn needs fall attention too. This prep work makes a huge difference in how your grass looks next year and can reduce the need for spring repairs.
Final Mowing and Leaf Management
Keep mowing until your grass stops growing – usually after several hard frosts. For the last cut of the season, lower your mower blade by half an inch. Cutting cool-season grasses to about 2-2.5 inches helps prevent snow mold and reduces vole damage by eliminating their cover.
Don’t let leaves smother your grass. You can:
- Mulch them with a mower and leave them on the lawn (if layer is thin)
- Collect them for compost or leaf mold
- Use them as mulch in garden beds
Fertilize Cool-Season Grasses
If you have cool-season grass (Kentucky bluegrass, perennial ryegrass, or tall fescue), fall is the most important time to fertilize. The grass is storing energy for winter and building strong root systems while top growth slows.
Apply a winterizer fertilizer:
- Early fall (September): Regular lawn fertilizer to recover from summer stress
- Late fall (November): High-potassium winterizer formula for cold hardiness
Skip fall fertilization for warm-season grasses like Bermuda or St. Augustine – they’re going dormant and won’t use the nutrients.
Overseed Thin Spots
Fall’s cool, moist weather creates perfect conditions for grass seed germination – better than spring in most climates. Soil temperatures between 50-65°F are ideal for cool-season grass establishment.
Steps for successful overseeding:
- Mow existing grass short
- Rake vigorously to remove thatch and expose soil
- Spread seed at recommended rates
- Lightly rake to ensure seed-soil contact
- Apply starter fertilizer
- Keep consistently moist until germination (7-21 days)
- Continue regular watering until ground freezes
Protect Tender Plants
Know Your Zone and Microclimates
Not all plants that thrive in summer can handle winter. Check your USDA hardiness zone, but also learn your garden’s microclimates. Areas near buildings, under evergreens, or on south-facing slopes can be a full zone warmer.
Keep records of what survives and what doesn’t – your experience trumps general guidelines. That Mediterranean lavender might surprise you in a protected spot with excellent drainage.
Mulch for Insulation
After the ground freezes (not before!), add a 3-4 inch layer of mulch around perennials, trees, and shrubs. Applying too early can delay dormancy and attract rodents. The goal is insulation, not warmth – you want to keep soil frozen steadily, preventing the freeze-thaw cycles that cause frost heaving.
Good mulch options and their benefits:
- Shredded leaves: Free, improve soil, break down quickly
- Straw: Excellent insulation, easy to remove in spring (avoid hay – it contains seeds)
- Wood chips: Long-lasting, good for paths and around trees
- Pine needles: Great for acid-loving plants, don’t compact
- Evergreen boughs: Excellent for perennials, easy spring removal
Wrap or Cover Vulnerable Plants
Some plants need extra protection beyond mulch:
Roses: In zones 5 and colder, protect hybrid teas and floribundas:
- Stop fertilizing in late summer to encourage dormancy
- After first hard frost, mound soil or mulch 8-12 inches up the canes
- In extreme cold, add a rose cone or collar filled with leaves
- Remove protection gradually in spring
Young trees:
- Wrap trunks with tree wrap or guards to prevent sunscald and frost cracks
- Start at the base and spiral up to the first branches
- Remove wrap in early spring to prevent moisture damage and insects
Evergreens: Protect from winter burn caused by sun, wind, and frozen ground:
- Spray with an anti-desiccant in late fall and mid-winter
- Create windbreaks with burlap screens (don’t wrap tightly)
- Water deeply before ground freezes
Container plants:
- Move hardy plants to an unheated garage or shed
- Group pots together and surround with leaves or straw
- Water monthly during winter thaws
- Consider sinking pots into garden beds for insulation
Prepare Garden Tools and Equipment
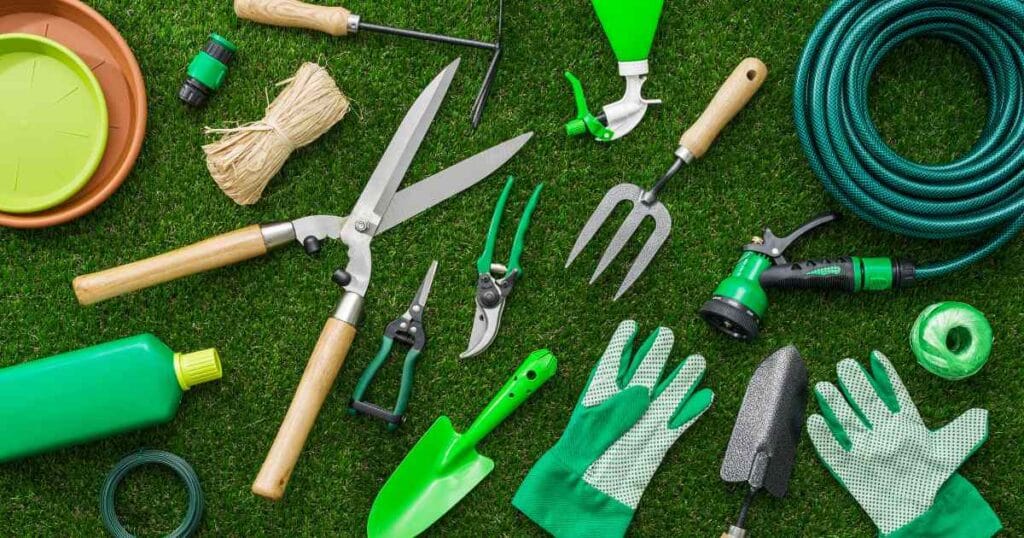
Your tools work hard all season. Proper maintenance now extends their life and ensures they’re ready for spring.
Clean and Sharpen Tools
Well-maintained tools make gardening easier and healthier for plants. Clean cuts heal faster than ragged tears from dull tools.
Basic tool maintenance:
- Wash off dirt with water and a stiff brush – soil holds moisture that causes rust
- Disinfect pruning tools with 10% bleach solution or rubbing alcohol to prevent disease spread
- Remove rust with steel wool, sandpaper, or a wire brush
- Sharpen blades on pruners, loppers, hoes, and shovels using a file or whetstone
- Oil metal parts with light machine oil or WD-40 to prevent rust
- Sand and oil wooden handles with linseed oil to prevent cracking and splinters
- Replace worn parts like pruner springs or broken handles
Winterize Power Equipment
Proper storage prevents expensive repairs and ensures easy starting in spring.
Lawn mowers and string trimmers:
- Run engine until fuel tank is empty, or add fuel stabilizer to prevent gum deposits
- Change oil while engine is warm
- Clean or replace air filters
- Remove and clean spark plugs
- Sharpen or replace blades
- Clean under deck and treat with rust preventative
- Remove batteries and store indoors
Garden hoses and irrigation:
- Drain hoses completely – trapped water expands when frozen
- Disconnect from spigots to prevent faucet damage
- Coil and hang in a frost-free location
- Blow out irrigation lines with compressed air
- Insulate backflow preventers and above-ground pipes
- Turn off water supply to outdoor faucets
Other equipment:
- Clean and oil wheelbarrow bearings
- Empty and clean sprayers thoroughly
- Store liquids where they won’t freeze
- Organize hand tools for easy spring access
Harvest and Preserve
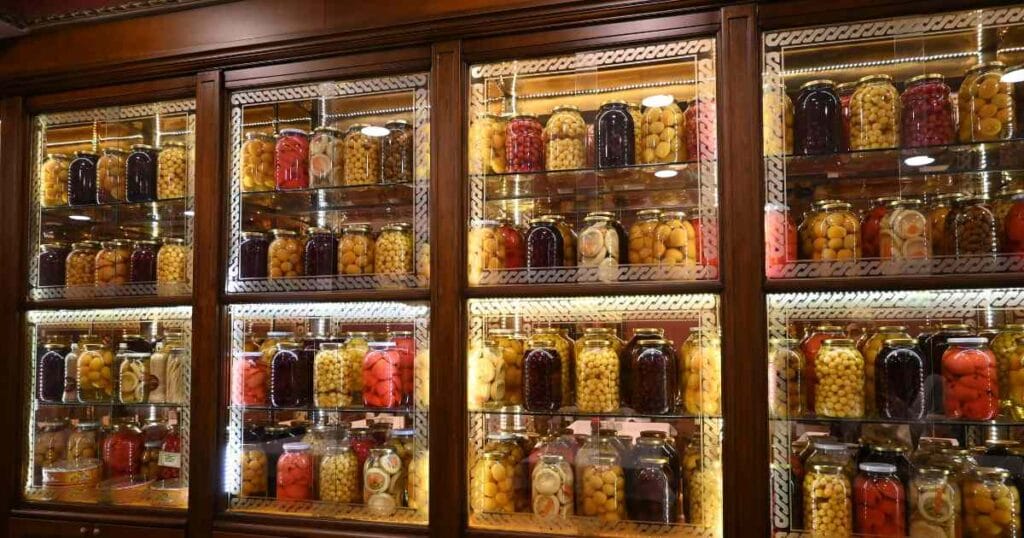
Know When to Pick
Some crops actually improve after a light frost. The cold converts starches to sugars, making them sweeter.
Harvest after the first frost:
- Brussels sprouts
- Kale
- Parsnips
- Carrots (can stay in the ground with mulch protection)
Harvest before hard frost:
- Winter squash
- Pumpkins
- Green tomatoes
- Herbs for drying
Storage Tips
- Root vegetables: Store in a cool, humid place like a root cellar or refrigerator crisper.
- Winter squash: Cure in a warm, dry place for 10 days, then store in a cool, dry spot.
- Herbs: Hang in bundles to dry, or freeze in ice cube trays with water or oil.
Add to Your Compost
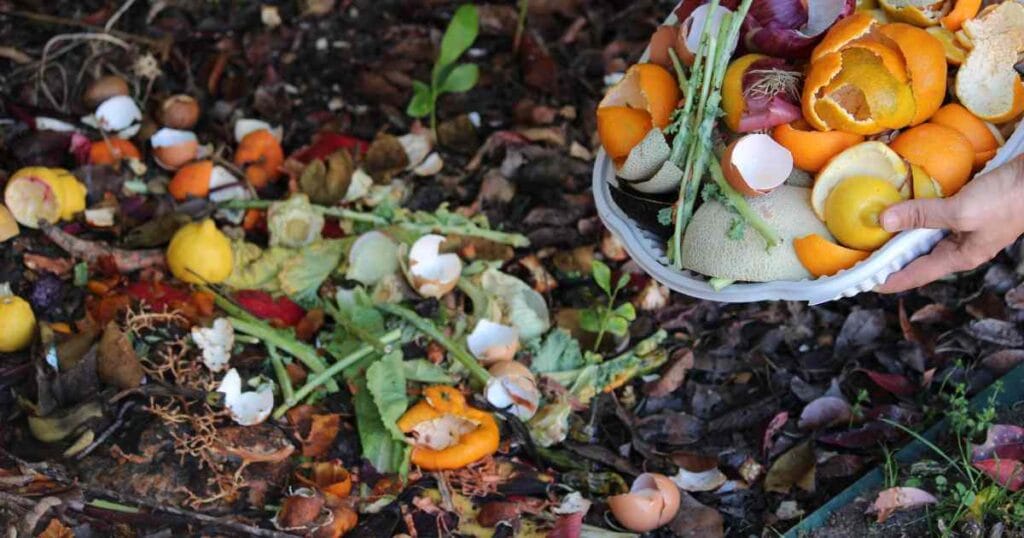
Fall gives you tons of material for composting. But you need the right mix of “browns” (carbon-rich) and “greens” (nitrogen-rich) for compost to work properly.
Great fall compost materials:
- Fallen leaves (browns)
- Dead plants (greens if still green, browns if dry)
- Grass clippings from final mowings (greens)
- Kitchen scraps (greens)
Don’t compost:
- Diseased plants
- Weeds with seed heads
- Pet waste
- Meat or dairy products
Layer browns and greens, keep the pile moist like a wrung-out sponge, and turn it occasionally. Even if it freezes over winter, it’ll start cooking again come spring.
Final Tasks Before Winter
Take Photos and Make Notes
Before everything dies back, walk through your garden with a camera and notebook. Record:
- What grew well and what didn’t
- Where you might want to move plants
- Empty spots that need filling
- Ideas for next year
These notes are gold when you’re planning next year’s garden in the dead of winter.
Order Seed Catalogs
Get on mailing lists now for seed catalogs. They usually arrive in December or January – perfect timing for winter garden planning.
Bring in Rain Gauges and Thermometers
These can crack if water freezes inside them. Clean them and store them indoors.
Your Fall Garden Checklist
Here’s everything in a quick reference list:
Cleanup:
- Remove dead annuals
- Pull weeds before they seed
- Clean up fallen fruit
- Rake leaves for compost or mulch
Plants:
- Cut back appropriate perennials
- Divide overgrown perennials
- Plant trees and shrubs
- Plant spring bulbs
- Mulch beds after ground freezes
- Protect tender plants
Soil:
- Get soil tested
- Add amendments as needed
- Top dress beds with compost
Lawn:
- Final fertilizer application
- Overseed thin areas
- Last mowing at a lower height
Tools and Equipment:
- Clean and sharpen tools
- Winterize mowers and tillers
- Drain hoses and irrigation
- Store equipment properly
Harvest:
- Pick the remaining vegetables
- Harvest herbs for drying
- Store crops properly
Fall garden prep takes work, but it’s satisfying work. You’re not just cleaning up – you’re setting the stage for next year’s garden.
Come spring, when you’re eager to get planting, you’ll be glad you put in the effort now. Your soil will be rich, your tools will be ready, and your garden will be primed for its best season yet.