
Lily of the valley might be small, but these delicate white flowers pack a powerful punch in any garden. Their sweet fragrance and bell-shaped blooms make them a favorite among gardeners, even though they require some specific care to thrive.
What Is Lily of the Valley?
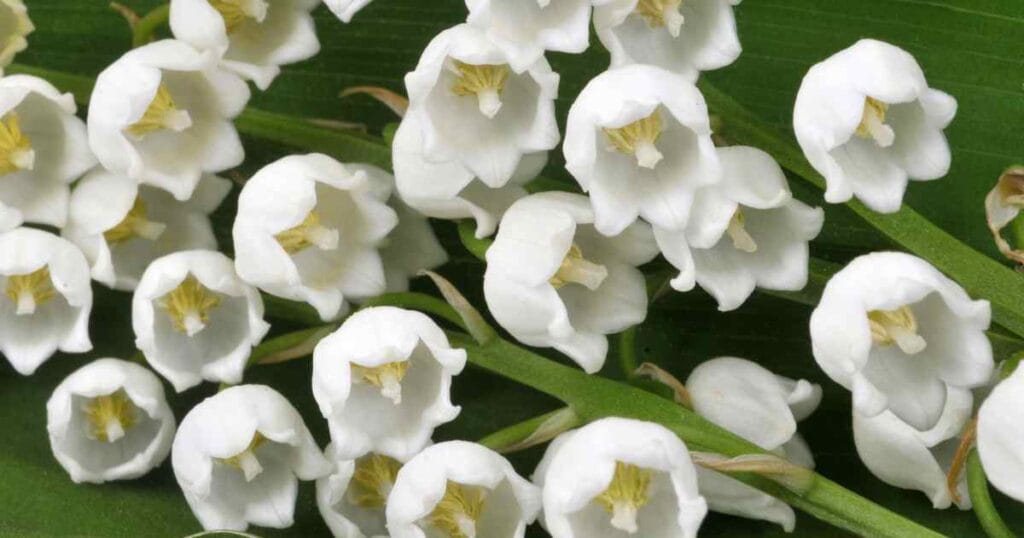
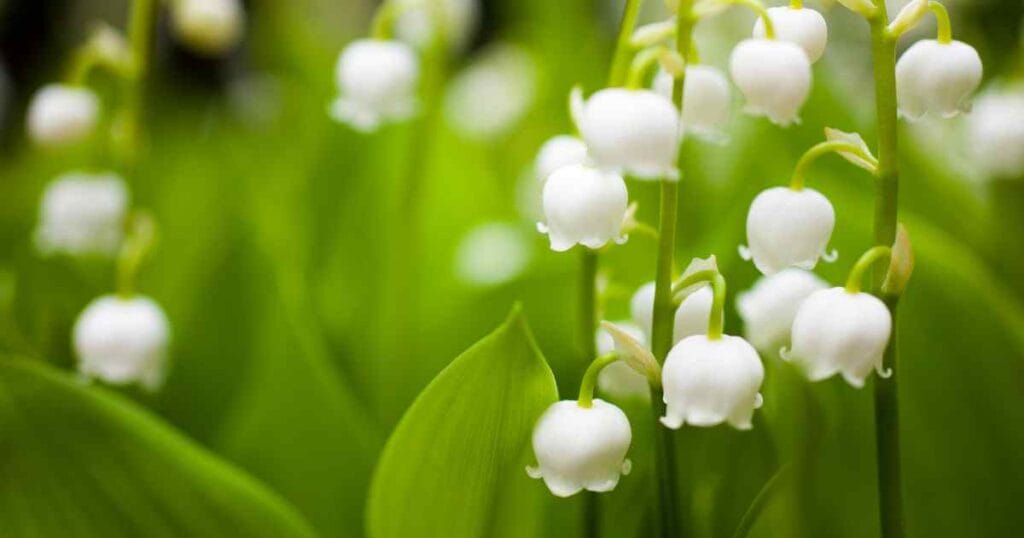
Lily of the valley (Convallaria majalis) is a perennial plant that produces tiny, bell-shaped white flowers on arching stems. The flowers typically bloom in late spring and have one of the most recognizable fragrances in the plant world. If you’ve ever caught a whiff of these flowers, you know it’s a scent you won’t forget – sweet, fresh, and slightly lemony.
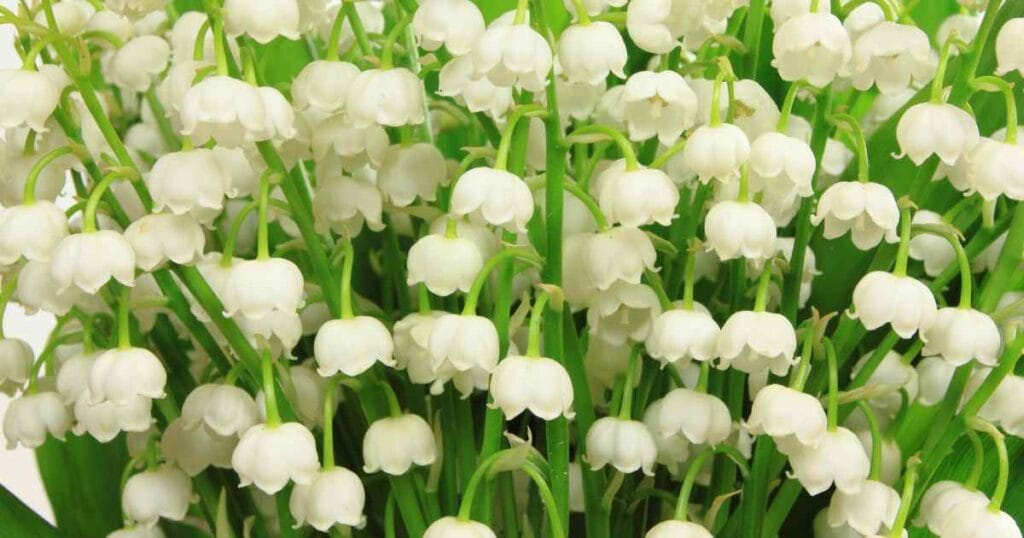
These plants grow from underground stems called rhizomes, which spread horizontally beneath the soil. Think of rhizomes like underground runners that shoot out new plants as they go. This spreading habit makes lily of the valley an excellent ground cover, though it can become invasive if you don’t keep it in check.
The plants typically reach 6-12 inches tall, with two or three broad, lance-shaped leaves that emerge directly from the ground. The flower stalks rise between these leaves, carrying 5-15 tiny bells that nod gracefully downward.
Important safety note: Every part of the lily of the valley is toxic to humans and pets. The plant contains cardiac glycosides that can cause serious heart problems if ingested. Keep this plant away from children and animals who might be tempted to taste the bright red berries that appear after flowering. Even the water from a vase containing these flowers can be poisonous.
Best Growing Conditions
Light Requirements
Lily of the valley performs best in partial to full shade. While it can tolerate some morning sun, too much direct sunlight will scorch the leaves and reduce flowering. Think about where you see these plants growing naturally – usually under trees or on the north side of buildings.
Here’s what different light conditions mean for your plants:
- Full shade (less than 2 hours of direct sun): Plants will grow but may produce fewer flowers
- Partial shade (2-4 hours of morning sun): Ideal conditions for best flowering
- Dappled shade (filtered light through trees): Perfect environment that mimics their natural habitat
- Full sun: Leaves will burn, plants will struggle, and flowering will decrease
Soil Needs
These plants prefer:
- Rich, moist soil with plenty of organic matter (think forest floor conditions)
- Well-draining conditions to prevent root rot – soggy soil will kill them faster than drought
- Slightly acidic to neutral pH (6.0 to 7.0) – test your soil if plants aren’t thriving
- Cool soil temperatures maintained by shade and mulch – hot soil stresses the plants
To improve your soil, work in 2-3 inches of compost or aged manure before planting. If you have heavy clay soil, add some perlite or coarse sand to improve drainage. Sandy soil? Add extra organic matter to help retain moisture.
Climate and Temperature
Lily of the valley needs a cold winter dormancy period to bloom properly. They grow best in USDA hardiness zones 3-8. If you live in a warmer climate (zones 9-10), you might struggle to get these plants to flower reliably because they need at least 1,000 hours of temperatures below 45°F to set buds.
The ideal temperature range during the growing season is 60°F to 70°F. Higher temperatures can cause the plants to go dormant early. In fact, it’s normal for lily of the valley to disappear completely by midsummer in hot climates – don’t panic, they’re just sleeping underground until cooler weather returns.
How to Plant Lily of the Valley
When to Plant
The best times to plant are:
- Early spring, as soon as the soil can be worked (when it crumbles in your hand rather than forming a mudball)
- Fall about 4-6 weeks before the first frost (gives roots time to establish before winter)
Avoid planting in summer when plants are dormant or stressed from heat.
Planting Methods
You can start lily of the valley from:
Pips (rhizome sections with buds):
- Soak pips in lukewarm water for an hour before planting (this helps them wake up)
- Dig holes 1-2 inches deep and 4-6 inches apart
- Look for the pointed growth tip on each pip – this goes up
- Place pips horizontally with the growing tips pointing up (like planting a bulb on its side)
- Cover with soil and water gently to settle the soil
Potted plants:
- Water the pot thoroughly an hour before planting
- Dig a hole twice the width of the root ball and just as deep
- Gently remove the plant from its pot (squeeze the sides if it’s stuck)
- Place the plant at the same depth it was growing in the pot – don’t bury the crown
- Fill in with soil, firming gently to remove air pockets
- Water thoroughly to help roots make contact with the soil
From existing clumps:
- Dig up established plants in early spring before growth starts or fall after foliage yellows
- Use a garden fork to lift the entire clump (go wide to avoid cutting rhizomes)
- Shake off excess soil so you can see the rhizomes
- Separate the rhizomes by hand or with a sharp knife, making sure each piece has at least one pip and some roots
- Replant immediately at the same depth they were growing
- Water well and keep moist until established
Spacing
Give plants 4-6 inches of space between them. They’ll fill in quickly, so don’t worry if it looks sparse at first. In fact, if you plant them too close together, you’ll just have to divide them sooner. A single pip can spread to cover a square foot in 2-3 years under good conditions.
Watering Requirements
Lily of the valley likes consistent moisture but won’t tolerate waterlogged soil. Getting the balance right is key to healthy plants.
Here’s what works:
- Water deeply once a week during the growing season (enough to wet the soil 6 inches down)
- Check soil moisture by sticking your finger 2 inches into the soil – if it’s dry, water
- Increase watering during hot, dry spells to twice weekly
- Reduce watering after the foliage dies back in summer – dormant plants need less
- Stop watering in fall once plants are fully dormant
The key is keeping the soil evenly moist, not soggy. Think of a wrung-out sponge – that’s the moisture level you want. Mulching helps retain moisture and keeps roots cool.
Signs you’re watering wrong:
- Too much water: Yellow leaves, soft brown spots, root rot, no flowers
- Too little water: Brown leaf edges, wilting, early dormancy, poor flowering
Fertilizing Guidelines
These plants aren’t heavy feeders, but they benefit from some nutrition. Too much fertilizer actually causes more problems than too little.
- Apply compost or well-rotted manure in early spring (a 1-inch layer worked into the soil)
- Use a balanced fertilizer (10-10-10) once in spring as growth begins – just a light sprinkle
- Avoid over-fertilizing, which can lead to lots of leaves but few flowers
- Side-dress with compost in fall to prepare for next year’s growth
If your plants are growing well and flowering, you might not need any fertilizer at all. Signs they need feeding include pale leaves, poor flowering, and slow spread.
Never fertilize:
- During hot weather
- When soil is dry
- After flowering (this can prevent dormancy)
- In late fall (can stimulate tender growth before winter)
Maintenance and Care
Mulching
Apply a 2-3 inch layer of organic mulch around plants. This:
- Keeps soil cool and moist (can lower soil temperature by 10 degrees)
- Suppresses weeds that compete for water and nutrients
- Adds nutrients as it decomposes
- Protects rhizomes in winter from freeze-thaw cycles
Good mulch choices include shredded leaves, pine straw, or finely shredded bark. Avoid thick bark chunks that take forever to break down or fresh wood chips that can tie up nitrogen.
Deadheading and Pruning
You don’t need to deadhead lily of the valley for continued blooming since they only flower once per season. But you can:
- Remove spent flower stalks for appearance (cut at the base)
- Leave foliage intact until it yellows naturally – it’s feeding next year’s flowers
- Cut back dead foliage in late fall or early spring (your choice)
Some gardeners leave the red berries for visual interest, but remove them if you have kids or pets around.
Dividing
Divide lily of the valley every 3-5 years to:
- Control spread (before they take over your entire garden)
- Rejuvenate older plantings that have stopped flowering well
- Create new plants for other areas or to share with friends
The best time to divide is early spring, before growth starts, or in fall after foliage dies back. Spring division might mean sacrificing that year’s flowers, but plants establish faster.
How to divide:
- Water the area the day before to soften the soil
- Dig up the entire clump with a garden fork
- Shake off soil and pull apart rhizomes by hand
- Each division needs at least one growing pip and some roots
- Replant immediately and water well
Common Problems and Solutions
Pests
Lily of the valley has few pest problems, but watch for:
Slugs and snails:
- Hand-pick at night with a flashlight
- Use beer traps (shallow dishes of beer that they fall into)
- Spread diatomaceous earth around plants (reapply after rain)
- Copper tape around beds repels them
Spider mites:
- Look for fine webbing and stippled leaves
- Spray with water to dislodge (hit the undersides of leaves)
- Use insecticidal soap if the infestation is severe
- Increase humidity to discourage them
Diseases
Leaf spot (brown or black spots on leaves):
- Remove affected leaves and destroy (don’t compost)
- Improve air circulation by thinning plants
- Avoid overhead watering – use soaker hoses instead
- Apply fungicide only if the problem is severe
Root rot:
- Ensure good drainage (amend clay soil)
- Don’t overwater (let soil dry slightly between waterings)
- Remove affected plants and surrounding soil
- Don’t replant in the same spot
Other Issues
No flowers:
- Too much shade or sun (adjust location or overhead tree cover)
- Plants are too young (need 2-3 years to establish before good flowering)
- Lack of winter chill (need 1,000+ hours below 45°F)
- Over-fertilization (too much nitrogen promotes leaves over flowers)
- Overcrowding (divide clumps)
Yellow leaves:
- Natural dormancy in summer (nothing to worry about)
- Too much sun (provide more shade)
- Poor drainage (amend soil or move plants)
- Nutrient deficiency (apply compost)
Growing in Containers
Yes, you can grow lily of the valley in pots! This is actually a great way to control their spread.
- Choose a container at least 12 inches deep with drainage holes (wider is better than deeper)
- Use quality potting mix amended with compost – don’t use garden soil
- Add perlite for extra drainage (about 1/4 of the mix)
- Plant pips at the same depth as garden planting – 1-2 inches deep
- Keep consistently moist but not waterlogged (check daily in summer)
- Place in shade or filtered light – avoid hot afternoon sun
- Feed monthly with diluted liquid fertilizer during the growing season
- Overwinter in a cool location (35-45°F) for dormancy – an unheated garage works great
Container plants need more frequent watering and feeding than garden plants. Don’t let them dry out completely, or they’ll go dormant early.
Harvesting and Using Cut Flowers
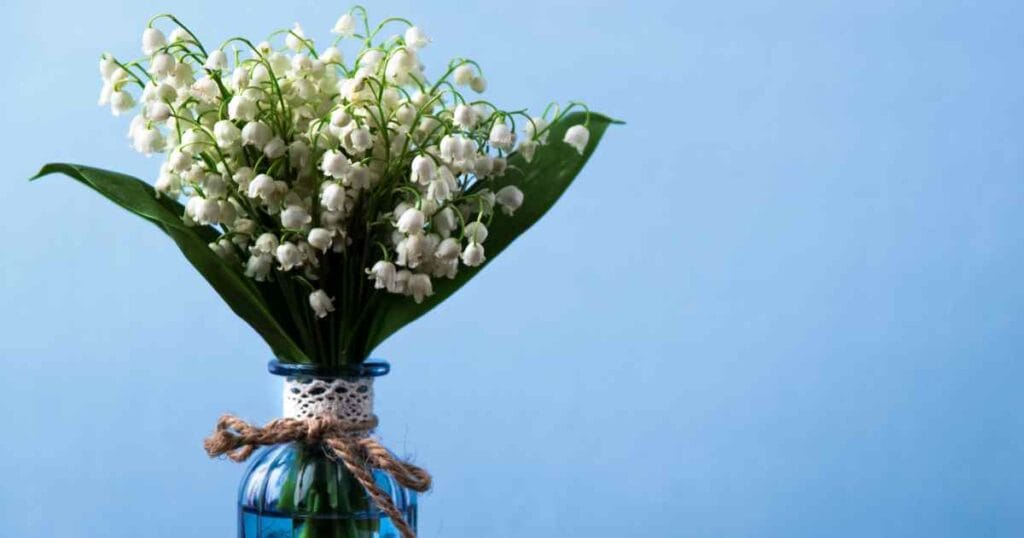
Lily of the valley makes beautiful cut flowers that last about a week in a vase:
- Cut stems early in the morning when fully hydrated
- Choose stems with most bells still closed (they’ll open indoors)
- Cut at the base of the stem with sharp, clean scissors
- Place immediately in cool water up to the leaves
- Change water daily to extend vase life (5-7 days typically)
- Add flower food or a teaspoon of sugar to the water
Remember that all parts are toxic, so keep arrangements away from children and pets. Wash your hands after handling.
For long vase life:
- Keep out of direct sun
- Away from heating vents
- Not near ripening fruit (ethylene gas ages flowers faster)
Special Considerations For Lily of the Valley
Invasive Nature
Lily of the valley spreads aggressively through underground rhizomes. In some areas, it’s considered invasive.
To control the spread:
- Plant in containers or raised beds with solid sides
- Install root barriers 12 inches deep (metal or heavy plastic)
- Regularly remove runners that escape bounds (check monthly in growing season)
- Consider less invasive alternatives if spread is a concern (like sweet woodruff)
- Mow or string-trim escapees to weaken them
Don’t plant near:
- Native plant gardens
- Delicate perennials that can’t compete
- Areas where you can’t monitor spread
Companion Plants
Good companions that share similar growing conditions:
- Hostas – provide contrasting foliage
- Ferns – love the same shady, moist conditions
- Astilbe – blooms after the lily of the valley fades
- Bleeding heart – another spring bloomer for shade
- Wild ginger – excellent native groundcover alternative
- Brunnera – forget-me-not flowers complement white bells
- Hellebores – evergreen foliage provides winter interest
Avoid planting with sun-lovers or plants that need dry conditions.
Winter Care
These hardy plants need minimal winter care:
- Leave foliage to die back naturally (it feeds the roots)
- Apply winter mulch after the ground freezes (prevents heaving)
- Remove mulch gradually in spring as shoots emerge
- Don’t worry about cold – they need it! (can survive -40°F)
- No need to dig up rhizomes unless you’re in zone 9+
In warmer zones, you might try:
- Refrigerating pips for 12-14 weeks before planting
- Growing as annuals
- Choosing heat-tolerant alternatives
Final Thoughts
Growing lily of the valley rewards patient gardeners with charming flowers and incredible fragrance.
Start small to see how they perform in your specific conditions. Once established, these tough little plants will return year after year with minimal care, brightening those difficult shady areas where other plants struggle.
Just remember the golden rules: give them shade, keep them moist but not wet, and contain their spread. Do these things, and you’ll enjoy their sweet-scented bells every spring for years to come.
And if they do take over? Well, at least you’ll have plenty to share with friends – just make sure to warn them about both the spreading habit and the toxicity. Happy gardening!