Growing spearmint indoors is one of those things that sounds harder than it actually is. And honestly? It’s pretty straightforward once you know what you’re doing. Whether you want fresh leaves for mojitos or just love the smell, here’s everything you need to know.
Why Grow Spearmint Indoors?
Let me be straight with you. Spearmint is almost too easy to grow outdoors. It spreads like crazy and can take over your entire garden. But indoors? You get all the benefits without the headache.
You’ll have fresh spearmint year-round for:
- Tea and drinks
- Cooking
- Natural air freshener
- Pest deterrent (ants hate it)
Plus, spearmint grows fast. You can start harvesting in about 8 weeks from seed, or even sooner if you start with a cutting.
What You’ll Need
Before you start, gather these basics:
- A pot with drainage holes (6-12 inches wide)
- Potting soil (regular indoor mix works fine)
- Spearmint plant or cuttings
- A sunny window or grow light
- Water (obviously)
That’s it. Nothing fancy required.
Choosing Your Container
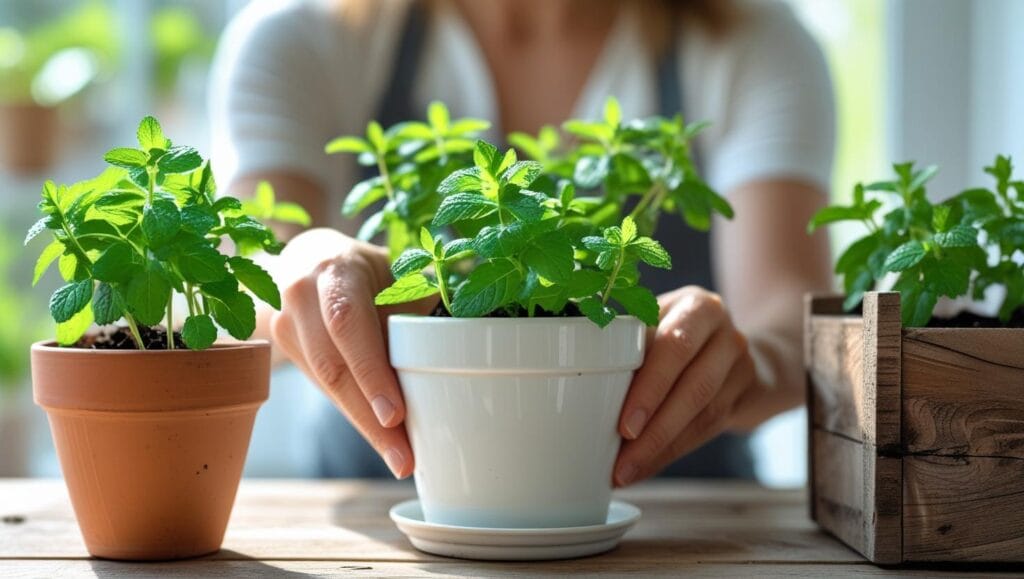
The container makes or breaks your indoor spearmint garden.
Here’s what works:
Size matters: Use a pot that’s at least 12 inches wide and 10 inches deep. Spearmint has shallow roots, but they spread horizontally. A wider pot gives you more mint.
Drainage is non-negotiable: Your pot needs drainage holes. No exceptions. Spearmint likes moisture but hates sitting in water. If your favorite pot doesn’t have holes, drill some or use it as a decorative outer pot.
Material options:
- Plastic pots: Light, cheap, and hold moisture well
- Terra cotta: Breathes well but dries out faster
- Glazed ceramic: Looks nice, holds moisture, but can be heavy
I use plastic pots with good drainage. They’re practical, and my spearmint doesn’t care what it grows in.
The Right Soil Mix
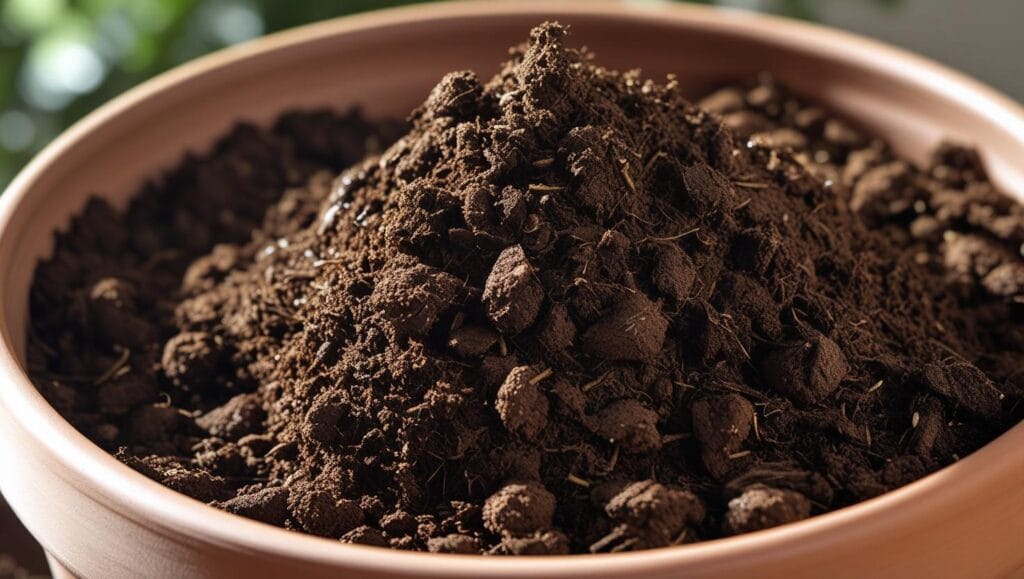
Spearmint isn’t picky about soil, but the right mix helps it thrive indoors.
You want soil that:
- Drains well
- Holds some moisture
- Has decent nutrients
My go-to mix:
- 2 parts quality potting soil
- 1 part perlite or coarse sand
- A handful of compost (optional but helpful)
Don’t use garden soil. It’s too heavy for containers and might bring in pests or diseases.
Starting Your Spearmint
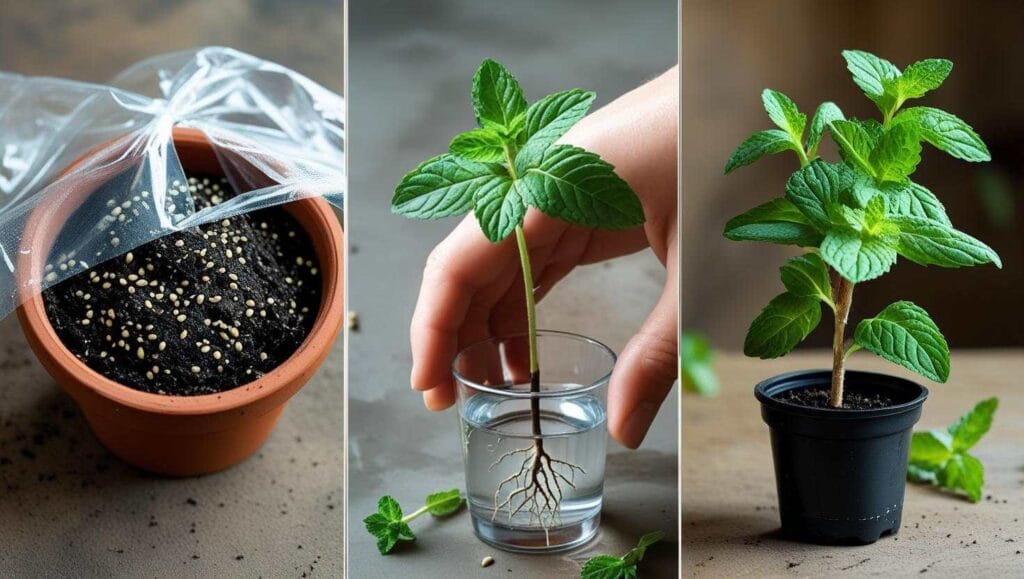
You’ve got three options here. Pick what works for you.
From Seed
Seeds are cheap but take patience.
- Fill your pot with moist soil mix
- Sprinkle seeds on top (they need light to germinate)
- Barely covered with a thin layer of soil
- Mist the surface
- Cover with plastic wrap until seeds sprout (7-14 days)
- Remove plastic once you see green
From Cuttings
This is my favorite method. It’s fast and almost foolproof.
- Cut a 4-6 inch stem from the existing spearmint
- Remove the lower leaves
- Stick in water or moist soil
- Roots appear in 1-2 weeks
- Plant in your container once roots are 1 inch long
From Nursery Plants
The easiest but most expensive option.
- Buy a small spearmint plant
- Transplant to your container
- Water thoroughly
- Done
Light Requirements
Here’s where indoor growing gets tricky. Spearmint needs good light but not blazing sun all day.
Natural light: A south or west-facing window works best. East-facing is okay too. Your spearmint needs 4-6 hours of indirect light daily.
Signs of too little light:
- Stems get long and stretched
- Leaves are small and pale
- Growth slows way down
Grow lights: If natural light isn’t enough, use a grow light. LED grow lights work great and don’t use much electricity. Position them 6-12 inches above your plant and run them 12-14 hours daily.
Watering Your Indoor Spearmint
Watering seems simple, but it’s where most people mess up. Spearmint likes consistent moisture. Not wet, not dry – just consistently moist.
My watering routine:
- Check the soil daily by sticking your finger in 1 inch deep
- Water when the top inch feels dry
- Water until it runs out of the drainage holes
- Empty the saucer so roots don’t sit in water
In winter, you’ll water less. In summer or if your home is dry, you might water every other day.
Water quality matters. If your tap water is heavily chlorinated, let it sit overnight before using. Spearmint can handle most tap water, but does better with chlorine-free water.
Temperature and Humidity
Good news! Spearmint likes the same temperatures you do. Keep it between 65-70°F and it’s happy. It can handle 55-75°F without complaining.
Humidity is trickier indoors, especially in winter. Spearmint prefers 40-50% humidity. Most homes are drier.
To increase humidity:
- Set the pot on a tray of pebbles with water
- Mist the leaves occasionally (morning is best)
- Group plants together
- Run a humidifier nearby
But honestly? Spearmint is tough. Mine grows fine in 30% humidity during winter.
Feeding Your Spearmint
Spearmint isn’t a heavy feeder, but container plants need some help since nutrients wash out with watering.
My feeding schedule:
- Use half-strength liquid fertilizer every 2 weeks during the growing season
- Cut back to monthly in winter
- Or use slow-release granules every 3 months
Any balanced fertilizer works (10-10-10 or similar). Organic options like fish emulsion work great, but smell terrible for a day.
Pruning and Harvesting
This is the fun part. The more you harvest spearmint, the bushier it grows.
How to harvest:
- Cut stems just above a set of leaves
- Take no more than 1/3 of the plant at once
- Harvest in the morning for the best flavor
- Use fresh or dry for later
Regular pruning:
- Pinch off flower buds (they reduce leaf production)
- Trim leggy stems to encourage branching
- Remove any yellow or damaged leaves
Don’t be shy about cutting. Spearmint bounces back fast.
Common Problems and Solutions
Even easy plants have issues sometimes. Here’s what to watch for:
- Yellow Leaves: Usually means too much water or poor drainage. Let the soil dry out more between waterings.
- Leggy Growth: Not enough light. Move closer to a window or add a grow light.
- Pests: Spider mites and aphids sometimes show up. Spray with water or use insecticidal soap if needed.
- Slow Growth: Could be root-bound. Check if roots are circling the bottom of the pot. Time to upgrade to a bigger container.
Repotting
Spearmint grows fast and needs repotting every 1-2 years. You’ll know it’s time when:
- Roots grow out of drainage holes
- Water runs straight through
- Growth slows despite good care
How to repot:
- Water the day before (easier to remove)
- Choose a pot 2 inches wider
- Add fresh soil mix
- Gently tease out circling roots
- Plant at the same depth
- Water thoroughly
Winter Care
Spearmint slows down in winter but doesn’t go fully dormant indoors. Adjust your care:
- Water less (soil dries slower)
- Fertilize less (monthly at most)
- Don’t panic if growth slows
- Keep away from cold drafts
Some leaves might yellow and drop. That’s normal. Just remove them.
Making More Plants
Once your spearmint is established, making new plants is simple:
Division:
- Remove the plant from the pot
- Pull or cut the root ball into sections
- Each section needs roots and stems
- Plant divisions in new pots
Cuttings: Same as starting from cuttings. Take 4-6 inch stems and root in water or soil.
Do this in spring or early summer for best results.
Final Thoughts
Growing spearmint indoors really is this straightforward. Give it a decent pot, don’t overwater, and make sure it gets enough light. That’s 90% of success right there.
Start with one plant. Once you get the hang of it, you’ll probably want more. Maybe try peppermint or chocolate mint next. But start simple with spearmint.