
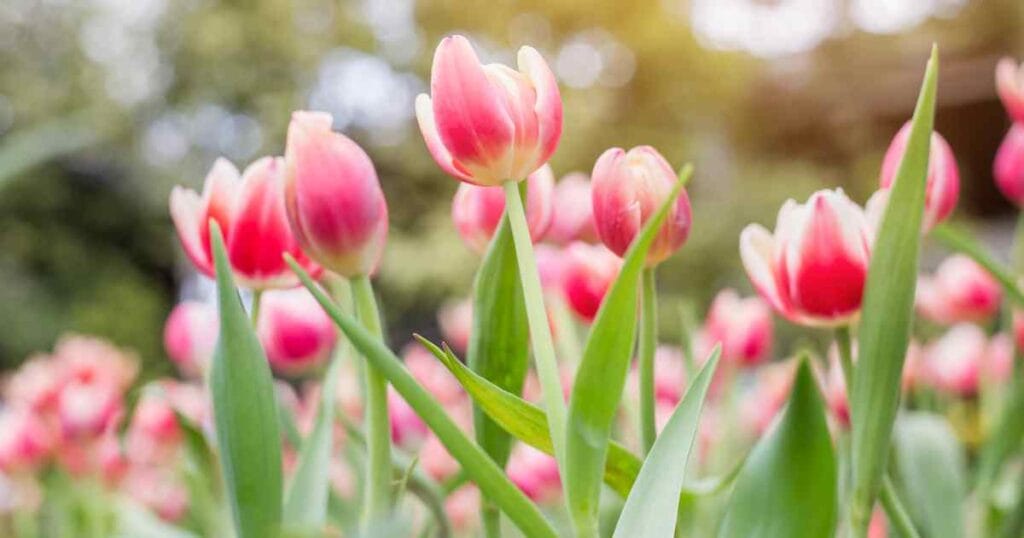
Tulips bring that perfect pop of color to any space. Whether you’re dreaming of a spring garden filled with bright blooms or want to grow them indoors during winter, tulips are easier to grow than you might think.
This guide walks you through everything you need to know about growing tulips, from choosing the right bulbs to keeping them healthy year after year.
Understanding Tulip Basics
Before you start planting, let’s cover what makes tulips tick.
Tulips are spring-flowering bulbs that originally came from Central Asia. They need a cold period (called vernalization) to bloom properly. This cold treatment tricks the bulb into thinking winter has passed, so it’s ready to grow when temperatures warm up.
Think of it like this: tulip bulbs are like batteries. They store all the energy from last year’s growth, and the cold period is like pressing the “on” button. Without that cold trigger, the bulb stays dormant.
Key Facts About Tulips:
- They bloom once per year (though the bulb can produce flowers for several years)
- Most varieties need 12-16 weeks of cold temperatures (below 50°F)
- Bulbs store all the energy needed for one season’s growth
- They come in nearly every color except true blue
- Heights range from 4 inches to 28 inches
- Each bulb typically produces one flower stem
- Flowers last 1-2 weeks in the garden, less if it’s hot
Choosing the Right Tulip Bulbs
Your success starts with picking good bulbs. Think of it like choosing produce at the grocery store – you want the freshest, firmest ones.
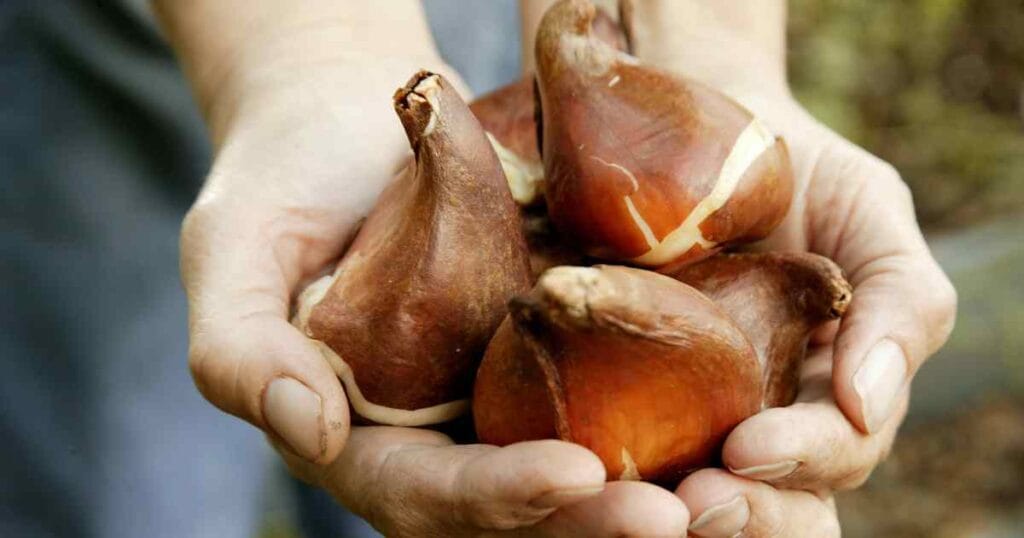
Signs of Healthy Bulbs:
- Firm to the touch (not soft or mushy) – squeeze gently, it should feel solid
- Heavy for their size (lightweight bulbs are often dried out inside)
- Intact papery skin (some peeling is normal, but avoid bulbs missing most of their covering)
- No visible mold or dark spots (small blemishes are okay, but avoid anything fuzzy or rotten)
- Larger bulbs (typically produce bigger flowers) – aim for bulbs at least 4-5 cm in diameter
Best Tulip Varieties for Beginners:
- Darwin Hybrids: Strong stems, reliable blooms, good for cutting. Try ‘Apeldoorn’ or ‘Golden Apeldoorn’
- Triumph Tulips: Medium height, sturdy in wind and rain. ‘Princess Irene’ and ‘Negrita’ are foolproof choices
- Species Tulips: Small but tough, often come back year after year. Look for Tulipa tarda or Tulipa clusiana
- Fosteriana Tulips: Early bloomers with large flowers. ‘Red Emperor’ is a classic.
Buy your bulbs in the fall when they’re fresh. Garden centers usually stock them from September through November. If you find bulbs on sale in December, check them carefully – they might be dried out.
Store bulbs in a cool, dry place if you’re not planting right away. A paper bag in the garage works better than plastic, which can trap moisture and cause rot.
Growing Tulips Outdoors
Most people grow tulips in their gardens, and for good reason – it’s the easiest method. Mother Nature does most of the work.
When to Plant
Plant tulip bulbs in fall, about 6-8 weeks before your first hard frost. This timing gives them enough cold exposure to bloom in spring. But here’s the thing – it’s better to plant late than not at all. I’ve planted bulbs in January during a thaw and still got flowers.
Planting times by region:
- Northern climates (Zones 3-5): September to October
- Middle regions (Zones 6-7): October to November
- Southern climates (Zones 8-10): November to December (or pre-chill bulbs in the fridge first)
To find your exact timing, check when your soil temperature stays consistently below 60°F. That’s your green light to plant.
Choosing the Right Location
Tulips need:
- Full sun to partial shade (at least 6 hours of direct sunlight) – but remember, they bloom before most trees leaf out
- Well-draining soil (tulips hate sitting in water) – if puddles stay after rain, pick another spot
- Protection from strong winds – plant near a fence or shrubs for shelter
- Space away from heating vents or warm foundations – heat can trigger early growth
The north or east side of your house often works well. These spots get morning sun but stay cooler overall.
Preparing the Soil
Good soil makes all the difference. Here’s how to prep your planting area:
- Test drainage: Dig a hole 6 inches deep and fill it with water. If water remains after an hour, you need to improve drainage
- Work the soil: Loosen it to about 12 inches deep with a spade or fork
- Mix in compost: Add 2-3 inches of compost to improve soil structure and add nutrients
- Check pH: Tulips prefer slightly acidic to neutral soil (6.0-7.0) – but honestly, they’re not too picky
- Add sand or perlite: If your soil is heavy clay, mix in coarse sand to help drainage
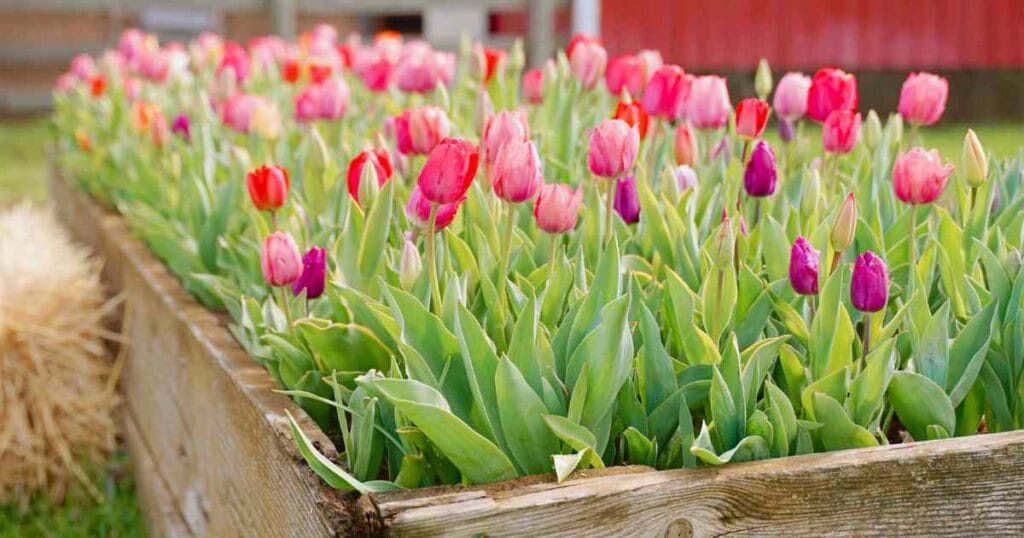
If your soil is terrible, don’t worry. Build a raised bed 8-12 inches high and fill it with good potting mix. Tulips will be perfectly happy.
Planting Your Bulbs
Follow these steps for perfect planting:
- Dig holes or trenches 6-8 inches deep (measure 3 times the bulb’s height)
- Space bulbs 4-6 inches apart (or closer for a fuller display – I often cheat and plant them 3 inches apart)
- Place bulbs pointy end up (if you can’t tell which end is up, plant it sideways – the shoot will find its way)
- Add bone meal or bulb fertilizer (about a tablespoon per hole) – this feeds next year’s flowers
- Cover with soil and water thoroughly to settle everything
- Add 2-3 inches of mulch to prevent weeds and keep soil temperature steady
Pro tip: Plant in groups of 10 or more of the same variety. Single bulbs look lonely, but a cluster makes a real impact.
Caring for Outdoor Tulips
Once planted, tulips don’t need much attention until spring. They’re sleeping underground, doing their thing.
During Growth (Spring):
- Water when the soil feels dry about an inch down (roughly 1 inch of water per week, including rain)
- Remove weeds that compete for nutrients – but be gentle, tulip roots are shallow
- Apply balanced fertilizer (like 10-10-10) when shoots appear
- Stake tall varieties if needed – use green stakes that blend in
After Blooming:
- Deadhead spent flowers, but leave foliage (this is crucial!)
- Let leaves yellow naturally (takes 6-8 weeks) – they’re feeding the bulb
- Stop watering once foliage starts yellowing
- Mark locations with golf tees or popsicle sticks to avoid digging up bulbs later
I know those dying leaves look messy, but resist the urge to cut them. Plant some annuals nearby to hide them if you must.
Growing Tulips Indoors
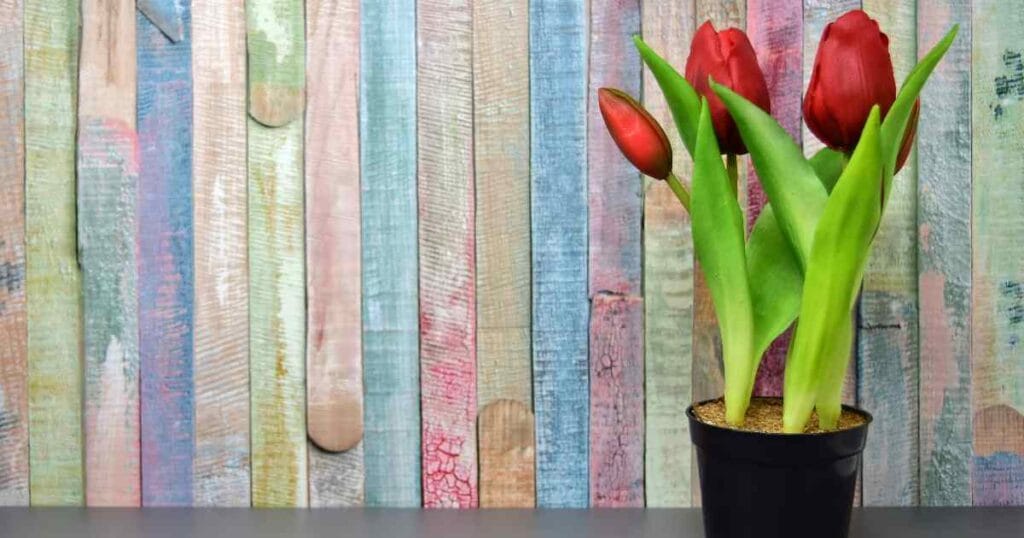
Yes, you can grow tulips inside! It takes more effort, but it lets you enjoy blooms anytime. Plus, it’s fun to watch them grow when it’s snowy outside.
Forcing Tulips in Pots
“Forcing” means tricking bulbs into blooming out of season. It sounds harsh, but you’re really just mimicking winter in your fridge.
What You’ll Need:
- Tulip bulbs (pre-chilled varieties save time)
- Pots with drainage holes (plastic or clay, both work)
- Potting mix (not garden soil – it’s too heavy)
- Cool storage space (35-48°F) – fridge, unheated garage, or cold basement
- Labels (trust me, you’ll forget what you planted where)
Step-by-Step Indoor Growing
- Choose the right container:
- Use pots at least 6 inches deep with drainage holes
- Wide, shallow bulb pans work great for multiple bulbs
- Make sure pots fit in your fridge if that’s your cooling method
- Plant bulbs close together:
- Fill the pot halfway with moist potting mix
- Place bulbs almost touching (they look better crowded)
- Position with tips just showing above the soil level
- Don’t bury them completely like outdoor planting
- Water thoroughly:
- Water until it drains from the bottom
- Soil should be moist like a wrung-out sponge
- Don’t let pots sit in standing water
- Provide cold treatment:
- Place pots in refrigerator, unheated garage, or cold frame
- Keep at 35-48°F for 12-16 weeks (mark your calendar!)
- Check weekly and water if the soil dries out
- Keep in complete darkness – cover with cardboard if needed
- Don’t store near apples or other fruit (they release ethylene gas that damages flowers)
- Move to warmth gradually:
- After the cold period, check for 2-inch shoots and roots coming through the drainage holes
- Move to a cool room (60-65°F) with indirect light
- Keep here for 2 weeks while shoots green up
- Once shoots are 4-5 inches, move to bright light
- Keep temperatures below 70°F for the longest bloom time
Caring for Indoor Tulips
- Water carefully: Keep soil moist but not waterlogged – check every 2-3 days.
- Rotate pots: Quarter turn daily for straight growth (toward the light source)
- Support stems: Use small bamboo stakes and soft ties if needed
- Keep cool: Flowers last longer in cooler temperatures – 60-65°F is ideal
- Watch for pests: Indoor tulips can get aphids – rinse them off in the sink
Once flowers fade, you can try planting the bulbs outside, but they rarely rebloom well. Most people treat forced bulbs as one-time performers.
Common Problems and Solutions
Even easy plants like tulips can run into issues. Here’s how to handle the most common problems:
Pest Issues
Squirrels and Rodents: think tulip bulbs are gourmet snacks. Here’s how to stop them:
- Plant bulbs in wire mesh cages or hardware cloth
- Cover planting area with chicken wire until shoots emerge
- Sprinkle cayenne pepper on soil (reapply after rain)
- Plant daffodils nearby (rodents hate them – they’re poisonous)
- Try planting deeper than normal (8-10 inches)
Deer: If deer visit your garden, tulips are like candy to them:
- Spray with deer repellent every 2 weeks
- Install motion-activated sprinklers
- Plant deer-resistant bulbs instead (daffodils, alliums)
- Use physical barriers like netting
Aphids: These tiny bugs suck plant juices and spread disease:
- Spray with water to knock them off
- Use insecticidal soap if the infestation is severe
- Encourage ladybugs and other beneficial insects
- Check plants weekly in spring
Disease Problems
Tulip Fire (Botrytis) shows up as gray mold on leaves and flowers:
- Remove affected plants immediately (bag them, don’t compost)
- Improve air circulation by spacing plants properly
- Avoid overhead watering
- Don’t plant tulips in the same spot yearly
- Choose resistant varieties
Bulb RotSoft, smelly bulbs that don’t grow:
- Ensure excellent drainage (this is 90% of the solution)
- Don’t overwater
- Remove any soft or moldy bulbs before planting
- Dust bulbs with fungicide before planting if you’ve had problems before
- Buy from reputable sources
Virus IssuesCauses streaked or “broken” colors in flowers:
- Actually prized in some historic varieties
- Can weaken bulbs over time
- Remove affected plants if you don’t want them spreading
- Control aphids (they spread viruses)
Growing Problems
No Blooms: The most frustrating problem! Usually caused by:
- Bulbs didn’t get enough cold (need 12-16 weeks below 50°F)
- Bulbs are too small or old (buy fresh, large bulbs)
- Planted too late in the season
- Too much shade (tulips need sun to recharge)
- Foliage was cut too early last year
Weak, Floppy Stems:
- Too warm during growth (keep below 70°F indoors)
- Not enough light (move to a brighter spot)
- Over-fertilization (too much nitrogen makes soft growth)
- Natural for some varieties (stake them)
- Overcrowded bulbs competing for nutrients
Flowers Open and Close: This is normal! Tulips close at night and on cloudy days. They’re responding to temperature and light changes.
Year-Round Tulip Care Calendar
Having a schedule helps you stay on track. Here’s what to do when:
Fall (September-November)
- Buy fresh bulbs early for the best selection
- Prepare planting beds with compost
- Plant outdoor bulbs when the soil cools
- Start chilling bulbs for indoor forcing
- Clean up garden beds
- Order specialty bulbs online
Winter (December-February)
- Monitor forced bulbs in cold storage
- Order bulbs for next year from catalogs
- Plan spring garden layout
- Check mulch on outdoor beds after storms
- Dream about spring (it’s important!)
- Start bringing forced bulbs indoors in late winter
Spring (March-May)
- Watch for emerging shoots (so exciting!)
- Water during dry spells
- Fertilize when growth appears
- Enjoy blooms and take photos
- Deadhead spent flowers
- Let foliage ripen naturally
- Plant summer annuals to hide dying foliage
Summer (June-August)
- Let foliage die back completely
- Mark bulb locations with stakes
- Dig and store bulbs if desired (or leave in the ground)
- Order fall bulb catalogs
- Prepare new planting areas
- Shop end-of-season sales for garden supplies
Tips for Long-Term Success
Want your tulips to thrive year after year? Follow these tips:
- Choose the right varieties: Species tulips and some Darwin hybrids are more likely to return annually. Skip the fancy parrot and fringed types if you want reliable repeaters.
- Feed your bulbs: Apply low-nitrogen fertilizer (9-6-6 or similar) when shoots emerge and again after blooming. The post-bloom feeding is most important.
- Let foliage mature: Those yellowing leaves might look ugly, but they’re feeding next year’s flowers. Hide them with other plants instead of cutting them.
- Divide overcrowded bulbs: Every 3-5 years, dig up and separate bulbs after foliage dies back. Replant immediately or store in a cool, dry place.
- Consider your climate: In warm areas (zones 8-10), treat tulips as annuals or dig and chill bulbs each year. It’s less work to buy new ones.
- Plant at the right depth: Deeper planting (8-10 inches) helps bulbs perennialize better and protects them from temperature fluctuations.
- Don’t fertilize in fall: This encourages soft growth that winter will damage. Save fertilizing for spring.
Making Cut Flower Arrangements
Tulips make excellent cut flowers. Here’s how to get the most from them:
- Cut in early morning when stems are full of water
- Choose flowers just beginning to open (tight buds may not open indoors)
- Cut stems at an angle under running water
- Remove lower leaves that would sit in water
- Use a clean vase and fresh, cool water
- Keep away from fruit (ethylene gas makes flowers age faster)
- Recut stems every few days (they keep growing in the vase!)
Fun fact: Tulips continue growing after cutting and can gain an inch or more in the vase. They also turn toward light, creating interesting curved stems.
For the longest vase life:
- Add flower food or a teaspoon of sugar to water
- Keep in a cool spot away from heating vents
- Change water every 2-3 days
- Mix with other spring flowers like daffodils (but condition daffodils separately first – their sap can harm tulips)
Special Considerations for Different Climates
Not all gardens are created equal. Here’s how to adjust for your climate:
Cold Climates (Zones 3-5)
- Plant in full sun for the earliest blooms
- Mulch after the ground freezes
- Leave bulbs in the ground year-round
Moderate Climates (Zones 6-7)
- Partial shade extends bloom time
- Choose heat-tolerant varieties
- Consider deeper planting (8-10 inches)
Warm Climates (Zones 8-10)
- Pre-chill bulbs for 12-16 weeks
- Plant in the coolest part of the garden
- Treat as annuals or dig and store
- Try species tulips for better perennialization
Final Thoughts
Growing tulips isn’t complicated once you understand their basic needs. Give them cold winters, well-draining soil, and reasonable care, and they’ll reward you with stunning spring color.
Start small in your first year. Try a few different varieties to see what works best in your garden. And don’t worry if everything doesn’t go perfectly – even experienced gardeners lose some bulbs to weather, pests, or mysterious tulip disappearances.
The joy of seeing those first green shoots push through the soil makes any challenges worthwhile. So grab some bulbs this fall and get planting. Come spring, you’ll be glad you did.