

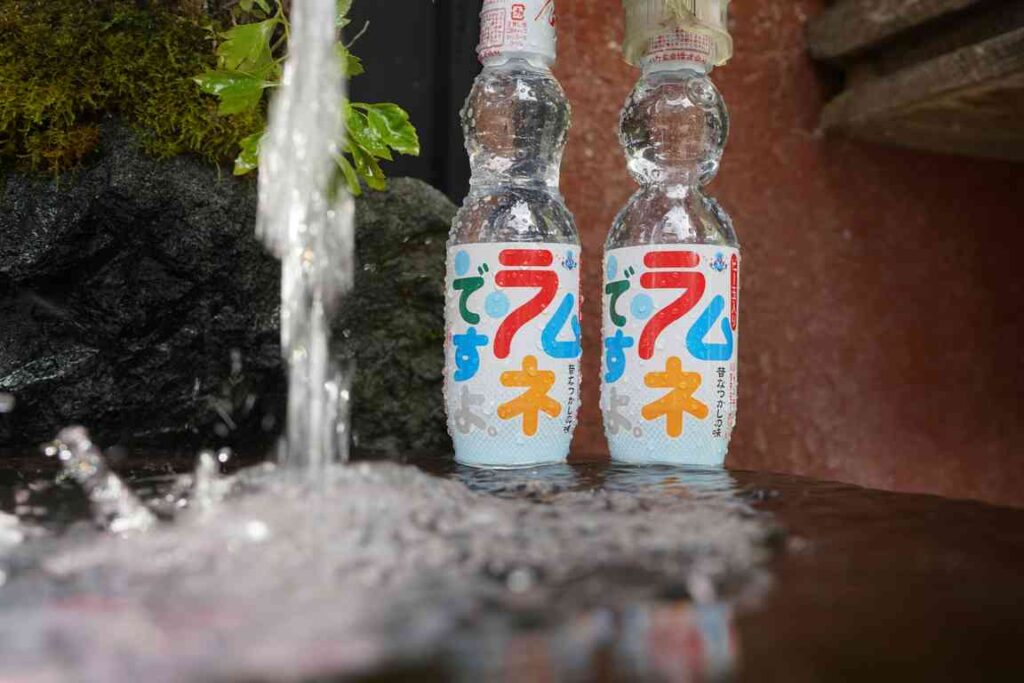
So you’ve finished drinking your ramune and now you’re staring at that iconic glass bottle with its unique shape and marble seal. Instead of tossing it in the recycling, why not turn it into a charming ramune planter? Growing plants in ramune bottles has become a popular trend, and for good reason – these bottles make perfect vessels for water propagation and small ramune plant displays.
What Makes Ramune Bottles Great for Plants
Ramune bottles have several features that make them ideal for plant propagation:
- Clear glass construction – You can watch roots develop in real-time, which helps you know when your cutting is ready to plant in soil. This visibility takes the guesswork out of propagation – no more wondering if anything’s happening beneath the surface.
- Narrow neck – The bottle’s distinctive narrow neck holds plant cuttings upright without needing additional support. Most cuttings fit perfectly, staying centered without flopping over or sliding around.
- Stable base – The wide bottom prevents tipping, even with taller cuttings. You won’t wake up to water all over your windowsill because a cat brushed past your propagation station.
- Unique aesthetic – Let’s face it, these bottles just look cool on a windowsill. The marble chamber at the top adds visual interest even after you’ve removed the marble itself.
The 200ml size of most ramune bottles works perfectly for single cuttings or small plant arrangements. And since the glass is clear, your plants get light from all angles. The thick glass also insulates water temperature better than thin containers, keeping your cuttings happy.
Best Plants for Ramune Bottle Propagation
Not every plant works well in water propagation, but these do particularly well in ramune bottles:
Easy Winners
- Pothos – Practically indestructible and roots quickly. You’ll see white roots within 5-7 days
- Philodendron – Similar to pothos in care and rooting speed. Heart-leaf varieties work best
- Spider plant babies – Pop them right off the mother plant. They often have starter roots already
- Tradescantia – Roots appear within days. The purple varieties look stunning in clear glass
- Sweet potato vine – Creates dramatic trailing growth. Use organic sweet potatoes for best results
Herbs That Thrive
- Basil – Roots in about a week. Keep pinching the top to encourage bushier growth
- Mint – Grows almost too enthusiastically. Seriously, it’ll take over if you let it
- Oregano – Takes 2-3 weeks, but worth it. Greek oregano roots faster than Italian oregano
- Sage – Needs patience but eventually roots. Takes 3-4 weeks on average
Surprising Successes
- Coleus – Beautiful colors and easy rooting. The roots often match the stem color
- Begonia – Rex begonias work especially well. Cane begonias also propagate easily
- English ivy – Creates elegant displays. Choose newer growth for faster rooting
- Impatiens – Roots quickly and blooms in water. New Guinea varieties work great
Preparing Your Ramune Bottle
Before you start propagating, you need to prep your bottle properly.
- Remove the marble – This is the trickiest part. Here’s the easiest method: Push the marble down into the bottle using a chopstick or pencil. Turn the bottle completely upside down and shake gently. The marble should fall out of the mouth. If it’s stubborn, run hot water over the neck for 30 seconds – this expands the glass slightly. Still stuck? Fill the bottle with ice water, then quickly run hot water over just the neck. The temperature difference helps release the marble.
- Clean thoroughly – Wash with hot, soapy water. Use a bottle brush to scrub the inside, paying special attention to the narrow neck where syrup tends to stick. Any sugar residue can encourage algae growth or attract fruit flies and ants.
- Sanitize (optional but recommended) – Mix 1 tablespoon bleach with 1 gallon of water. Rinse the bottle with this solution, then rinse again with clean water at least twice. Let it air dry completely. This step prevents bacterial growth that can rot your cuttings.
- Remove labels – Soak in warm water for 20 minutes to loosen the adhesive. Peel off what you can, then use cooking oil on a paper towel to remove stubborn residue. Wash again with soap to remove the oil. Some people keep the labels for the aesthetic. It’s your choice.
Step-by-Step Propagation Guide
Step 1 – Taking Your Cutting
- Choose a healthy stem – Look for new growth without flowers or buds. The stem should be firm, not woody or soft. Morning is the best time to take cuttings when plants are fully hydrated.
- Cut below a node – That’s where leaves attach to the stem. You’ll see a slight bump or ring around the stem. Cut about 1/4 inch below this point using sharp, clean scissors or pruning shears.
- Make it 4-6 inches long – Shorter cuttings struggle to develop strong roots, longer ones flop over in the bottle. Include at least 2-3 nodes on your cutting.
- Use clean scissors – Dirty tools can introduce bacteria. Wipe your scissors with rubbing alcohol before cutting. Make one clean cut rather than sawing through the stem.
Step 2 – Preparing the Cutting
- Remove leaves from the bottom 2-3 inches – any leaves underwater will rot
- Keep at least 2-3 leaves at the top for photosynthesis
- If leaves are large (like on a pothos), cut them in half horizontally to reduce water loss
- Let the cut end dry for 10 minutes – this helps prevent rot by allowing the cut to callus slightly
- For woody stems, scrape a bit of the outer layer off the bottom inch to expose more growing tissue
Step 3 – Setting Up Your Bottle
- Fill with room temperature water – cold water shocks the cutting
- Leave about an inch of space at the top to prevent overflow
- Add the cutting so that at least one node is underwater – roots grow from nodes, not stems
- Place in bright, indirect light – a north or east-facing window works perfectly
Pro tip: If your cutting keeps falling through the wide mouth after removing the marble, create a support using plastic wrap with a small hole poked through, or use tape in an X pattern across the opening.
Creative Display Ideas
Ramune bottles aren’t just functional – they’re decorative too. Here are ways to showcase your water garden:
- Window gardens: Line up several bottles with different plants for a living curtain effect. Use a narrow shelf or repurpose a spice rack.
- Desk displays: A single bottle with a pothos cutting brightens any workspace. The narrow footprint doesn’t take up valuable desk space.
- Kitchen herbs: Keep fresh herbs within arm’s reach while cooking. Mount a small shelf near your prep area but away from heat sources.
- Gift giving: A rooted cutting in a ramune bottle makes a unique, personal gift. Add a ribbon and care instructions written on a vintage-style tag.
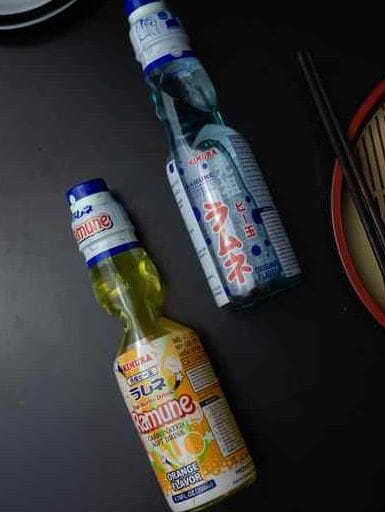
- Collections: Different ramune flavors have different colored marbles and labels – collect them all. Original, strawberry, and melon are the most common.
- Hanging displays: Use macrame or wire to create hanging holders. Group odd numbers for visual appeal.
- Bathroom gardens: Many plants love humidity. Line bottles along a bathroom window for a spa-like feel.
Water Maintenance and Care
Keeping your water fresh is crucial for healthy root development. Here’s what you need to know:
- Change water weekly: Set a reminder on your phone if you forget easily. Stale water lacks oxygen and encourages bacterial growth. When changing water, rinse the roots gently under lukewarm water to remove any slime buildup.
- Top off as needed: Water evaporates, especially in dry environments. Keep nodes submerged, but don’t overfill. If you’re topping off more than twice a week, consider moving your bottle away from heat sources.
- Watch for algae: Green water means too much direct sunlight. Move to a slightly shadier spot. If algae appears on roots, gently wipe it off with your fingers during water changes. A tiny piece of activated charcoal in the water helps prevent algae.
- Check root health: White or light tan roots are healthy. Black, brown, or mushy roots need immediate attention. Trim off any damaged roots with clean scissors and change the water immediately.
- Room temperature matters: Cold water shocks plants. Let tap water sit overnight before using – this also allows chlorine to evaporate. If you have hard water, consider using filtered or distilled water.
- Monitor for pests: Fungus gnats love standing water. If you see tiny flies, add a drop of dish soap to your water. It won’t hurt the plant but breaks the surface tension so gnats can’t land.
Transitioning to Soil
Just because your cutting has roots doesn’t mean it’s ready for soil. Water roots are different from soil roots – they’re more fragile and adapted to absorbing nutrients from water. Here’s how to know when and how to make the move:
Signs It’s Ready
- Roots are 2-3 inches long minimum
- Multiple roots have formed, not just one or two
- New leaf growth appears at the top
- Roots look thick and white, with visible branching
- The cutting has been in water for at least 3-4 weeks
Making the Transfer
- Prepare your pot – Use well-draining soil (add perlite to regular potting mix). Choose a pot with drainage holes that’s only slightly larger than the root system.
- Water the soil first – Moist soil is easier on water-grown roots. The soil should feel like a wrung-out sponge.
- Make a hole – Create a hole deep enough for all the roots using your finger or a pencil.
- Plant gently – Water roots are fragile and break easily. Lower the roots into the hole and gently press soil around them. Don’t pack it tight.
- Keep soil consistently moist – For the first two weeks, don’t let it dry out. Water when the top inch feels dry. After a month, you can let it dry out more between waterings.
- Provide humidity – Cover with a clear plastic bag for the first few days, removing it for an hour daily to prevent mold. Or mist the leaves twice daily.
But here’s the thing – some plants grow so well in water that you might want to keep them there permanently. Pothos, philodendrons, and many herbs can live in water indefinitely with proper care.
Long-Term Water Growing
Yes, you can keep certain plants in your ramune bottle indefinitely. But they need more care than just weekly water changes.
- Add nutrients: Every month, add a tiny drop of liquid fertilizer. Really, just a drop – ramune bottles are small. Use a diluted solution (1/4 strength of package directions). Too much fertilizer causes algae and can burn roots.
- Prune regularly: Plants in water grow fast because nutrients are readily available. Trim to keep them bottle-sized. You can propagate the trimmings in new bottles.
- Watch for root-bound conditions: When roots fill the bottle completely, it’s time to upgrade or divide. You’ll know it’s time when you can’t see through the glass anymore, or water needs constant topping off.
- Clean the bottle: Every 2-3 months, remove the plant and scrub away any mineral buildup with vinegar. Rinse thoroughly before replanting. This prevents calcium deposits from clouding the glass.
- Replace water completely: Even with regular changes, minerals build up over time. Once a month, dump all water and start fresh.
Final Thoughts
Growing plants in ramune bottles combines the joy of gardening with creative recycling. It’s an affordable way to expand your plant collection and share cuttings with friends.
Start with easy plants like pothos or mint. Once you see those first white roots appearing, you’ll be hooked. Before long, you’ll find yourself buying ramune not just for the drink, but for the bottle.